Protein Cheesecake Without Protein Powder
A baked protein cheesecake without protein powder, made with cottage cheese and Greek yogurt for a smooth, lightly sweet texture that sets cleanly once chilled.
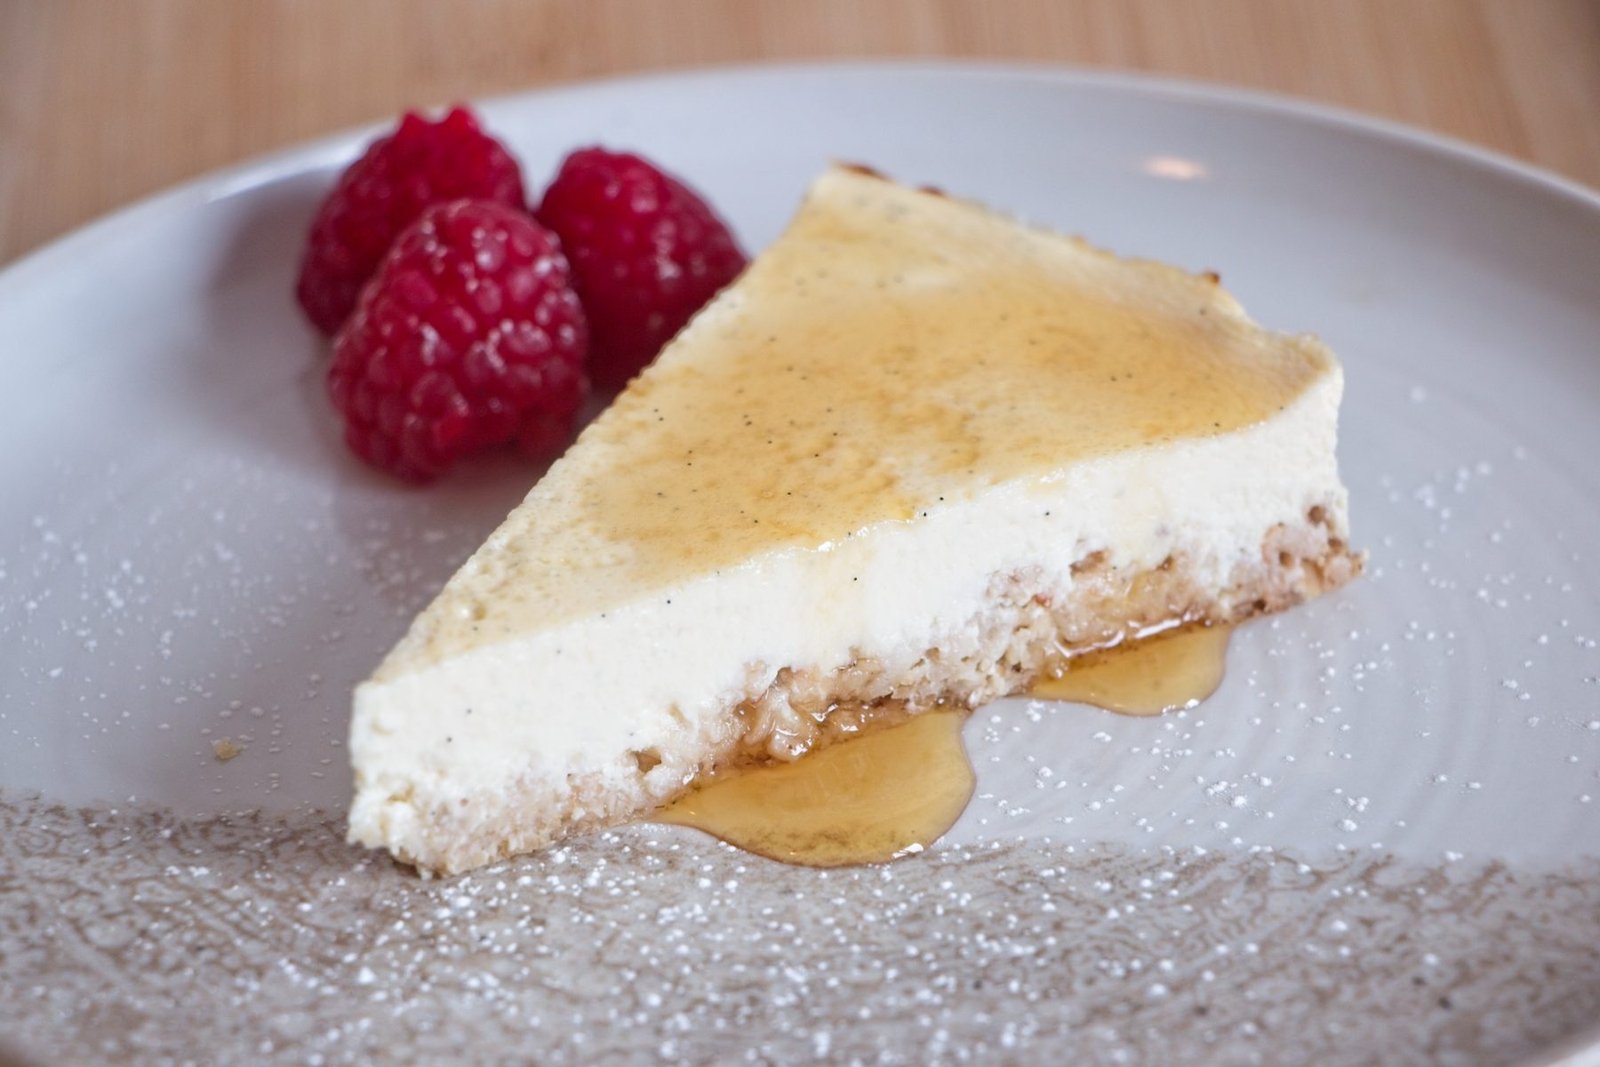
Are you tired of looking for high protein recipes but just keep finding ones that throw a bunch of protein powder in to up the macros? This high protein cheesecake recipe without protein powder may be just what you are looking for!
It’s creamy, smooth, and baked until just set. Lightly sweetened thanks to a hint of honey, and with the delicious taste of vanilla – not from weird synthetic vanilla flavoured protein powder, but actual vanilla pod. A slice contains just 150 calories, but within that slice you’ll get a whopping 18g of protein! Not bad for something that genuinely tastes like a dessert. Making this high protein cottage cheese cheesecake should definitely be on your “to do list” if you want to start eating a little healthier, but without giving up some little luxuries in life.
Ingredients Breakdown
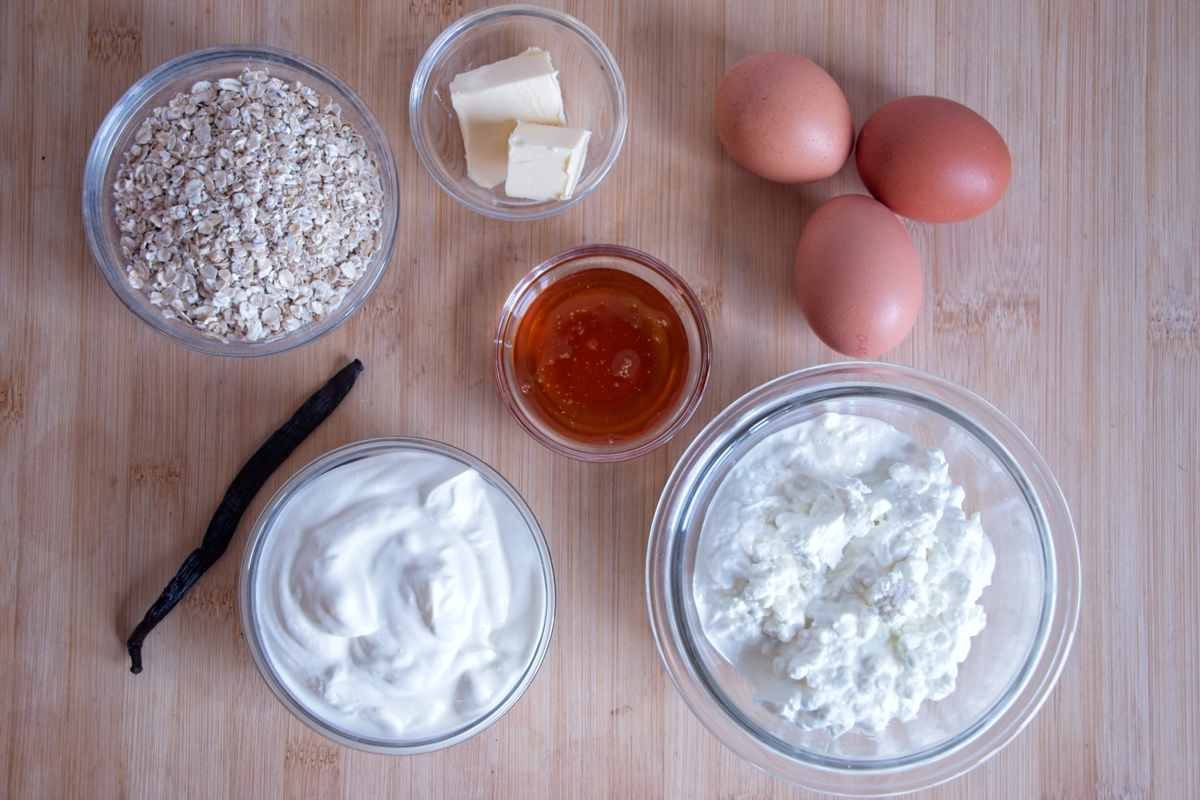
Cottage Cheese
Forms the main body of the cheesecake, providing most of the protein and a firm but creamy set once blended smooth and baked.
Greek Yogurt
Adds light acidity and moisture, balancing the cottage cheese and keeping the texture soft rather than dense. Also helps to boost that protein total.
Eggs
Set the filling as it bakes, giving the cheesecake structure and clean slices without added starches or thickeners. We’ll be using both whole eggs, plus extra egg white.
Honey
Sweetens both the filling and the base of the cheesecake. Liquid sweeteners mix in better to these kind of batters than granulated sugar. You could switch it volume for volume with what ever liquid sweetener you desire.
Vanilla
Vanilla cheesecake is the best cheesecake – in my opinion. This is just a flavouring, and therefore completely optional. You could replace it with whatever flavour you like – see notes for suggestions. Both vanilla pod and vanilla extract will be fine here. A bonus for pods as you get the beautiful seeds running through the cheesecake.
Rolled Oats
Traditionally, cheesecakes use a biscuit base, but we are trying to make this as healthy as possible while keeping it delicious. Roughly blitzed rolled oats sweetened with a touch of honey does the job just as well.
Butter
Binds the oat base and adds just enough fat to prevent it drying out during baking.
Step-by-Step Instructions
Prepare the tin
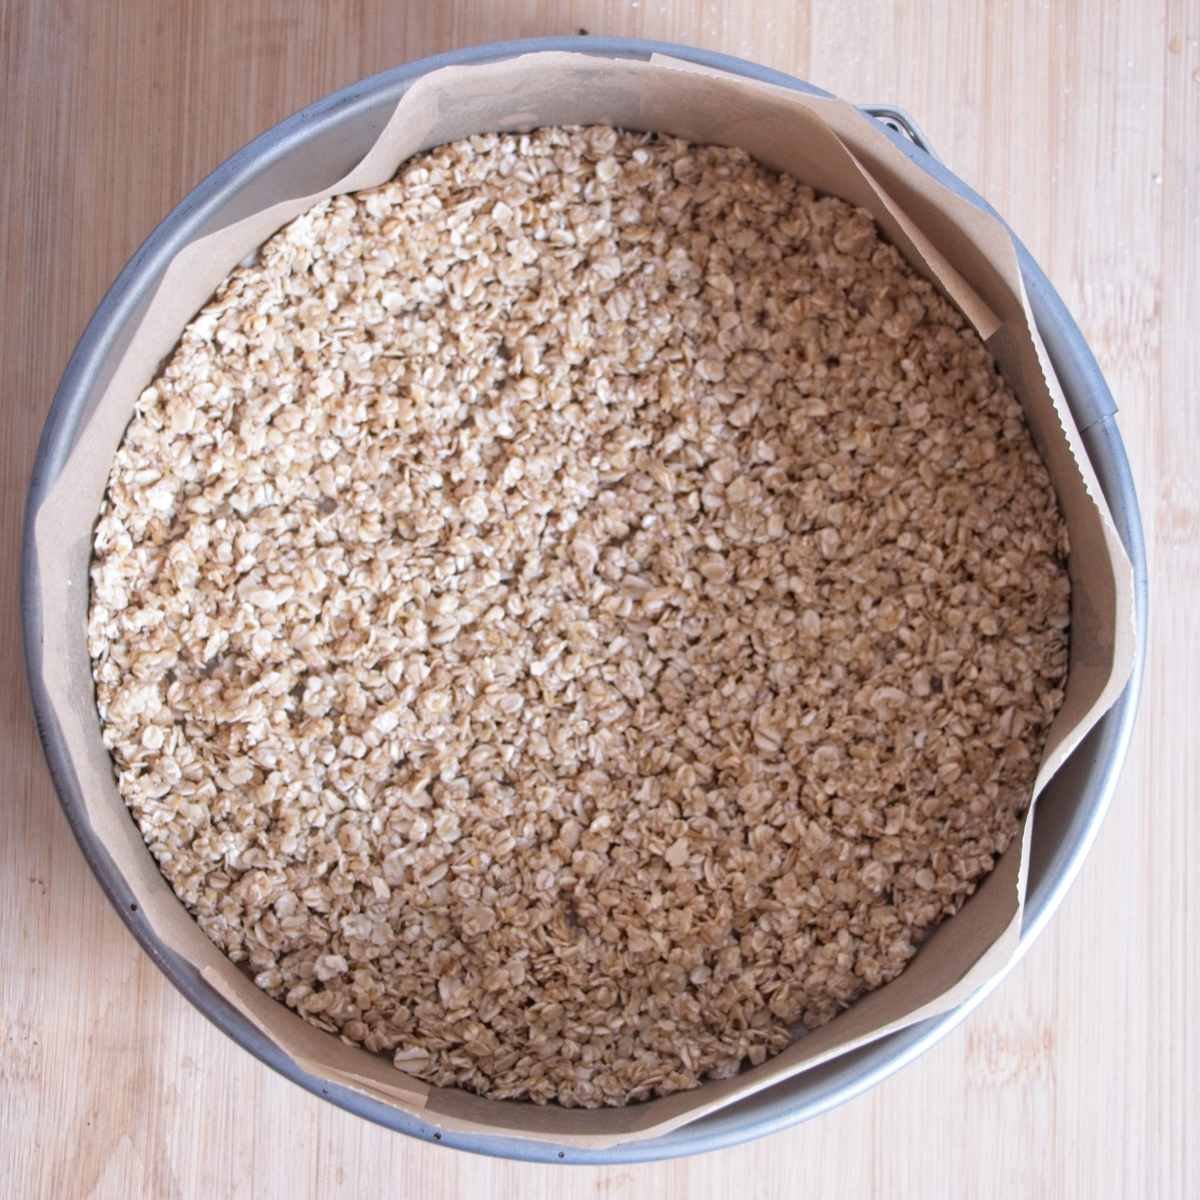
Heat the oven to 180°C fan. Line an 18–20 cm round cake tin with baking paper, covering the base and sides so the cheesecake releases cleanly after chilling.
Make the base
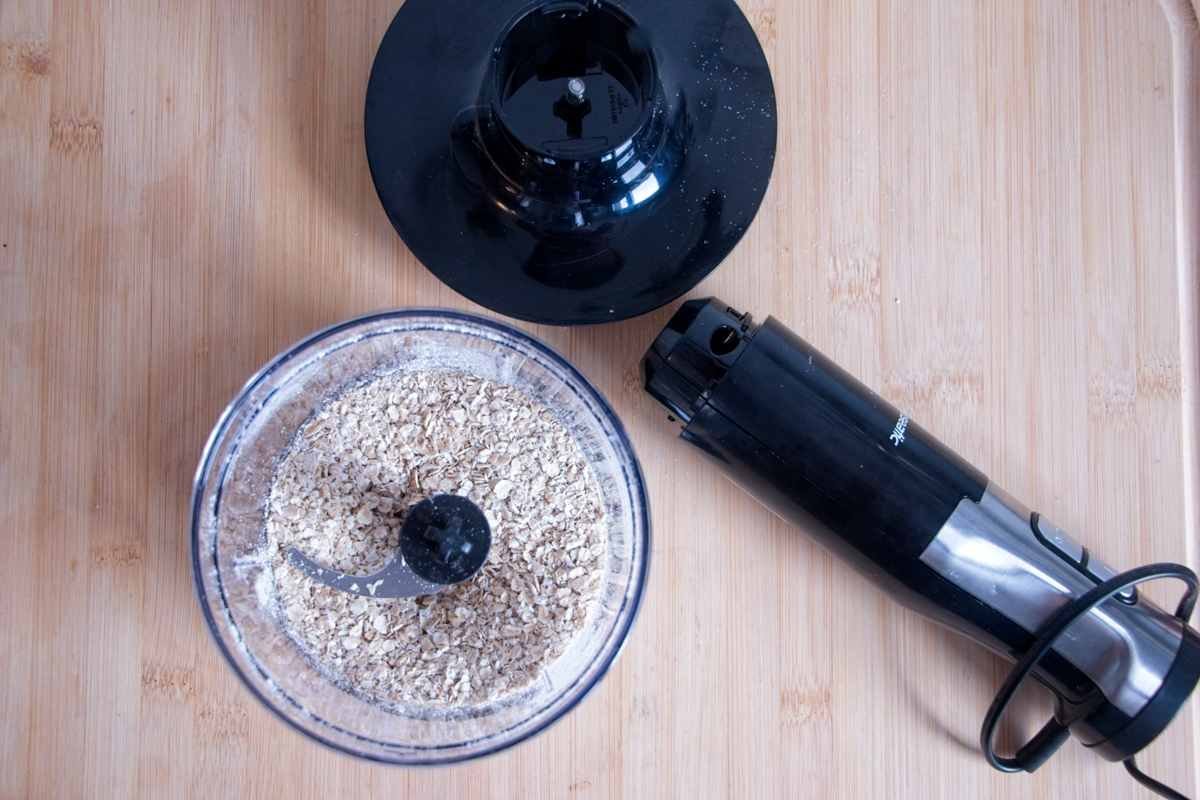
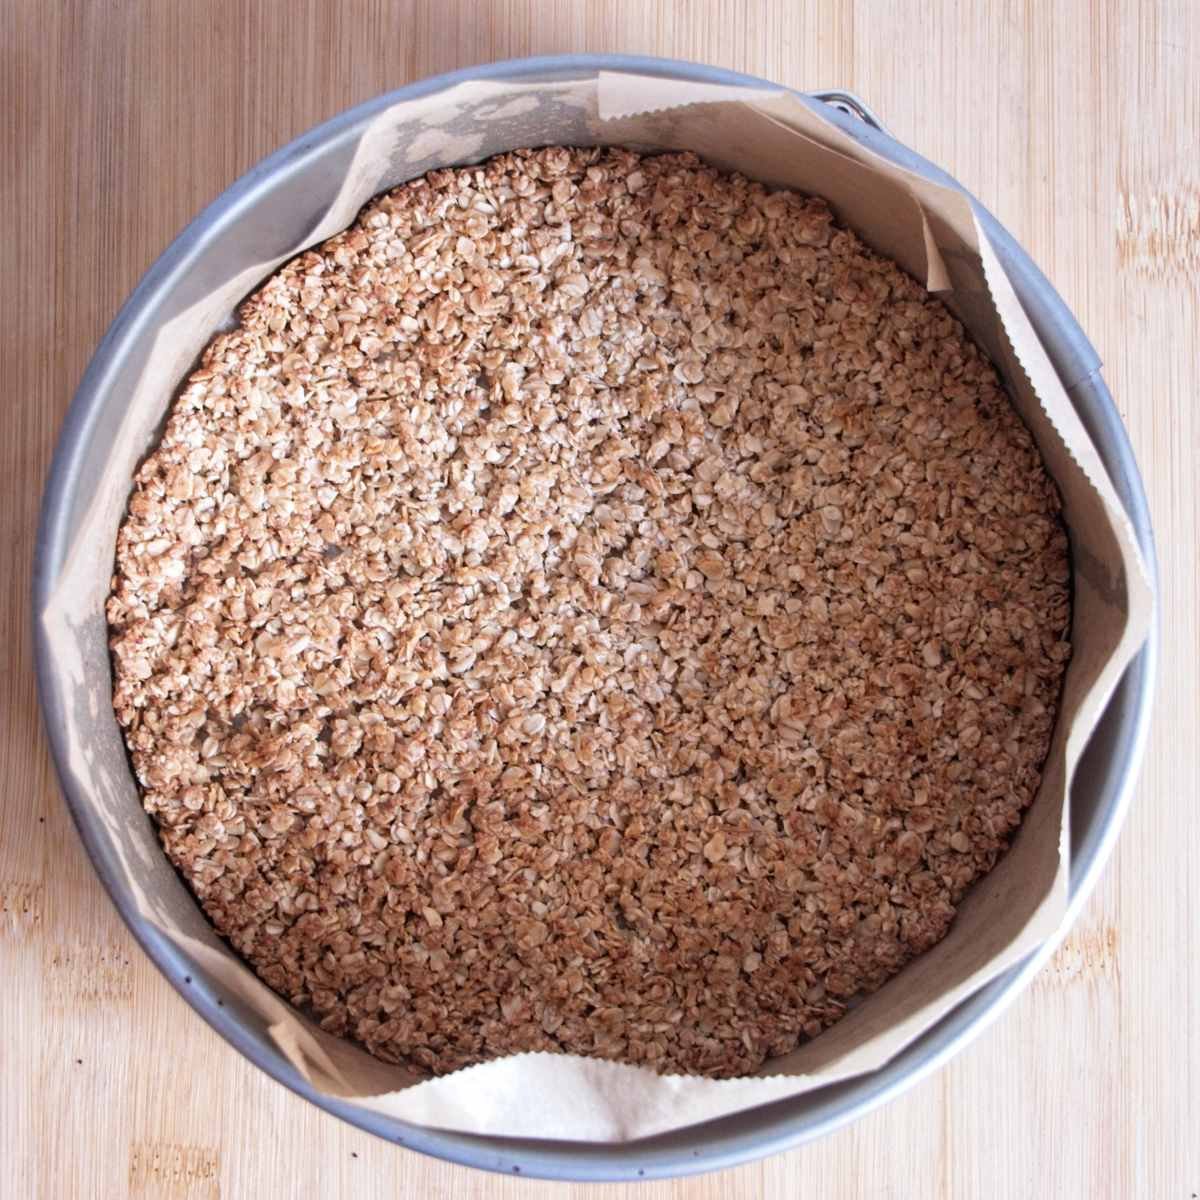
Melt the butter – either in a microwave or in a pan. Blitz the rolled oats to a fine crumb, then mix with the melted butter and a tbsp of honey until it resembles damp sand. Press the mixture thinly and evenly into the base of the tin. Bake until lightly golden and dry to the touch, then remove from the oven and lower the temperature to 165–170°C fan.
Blend the filling
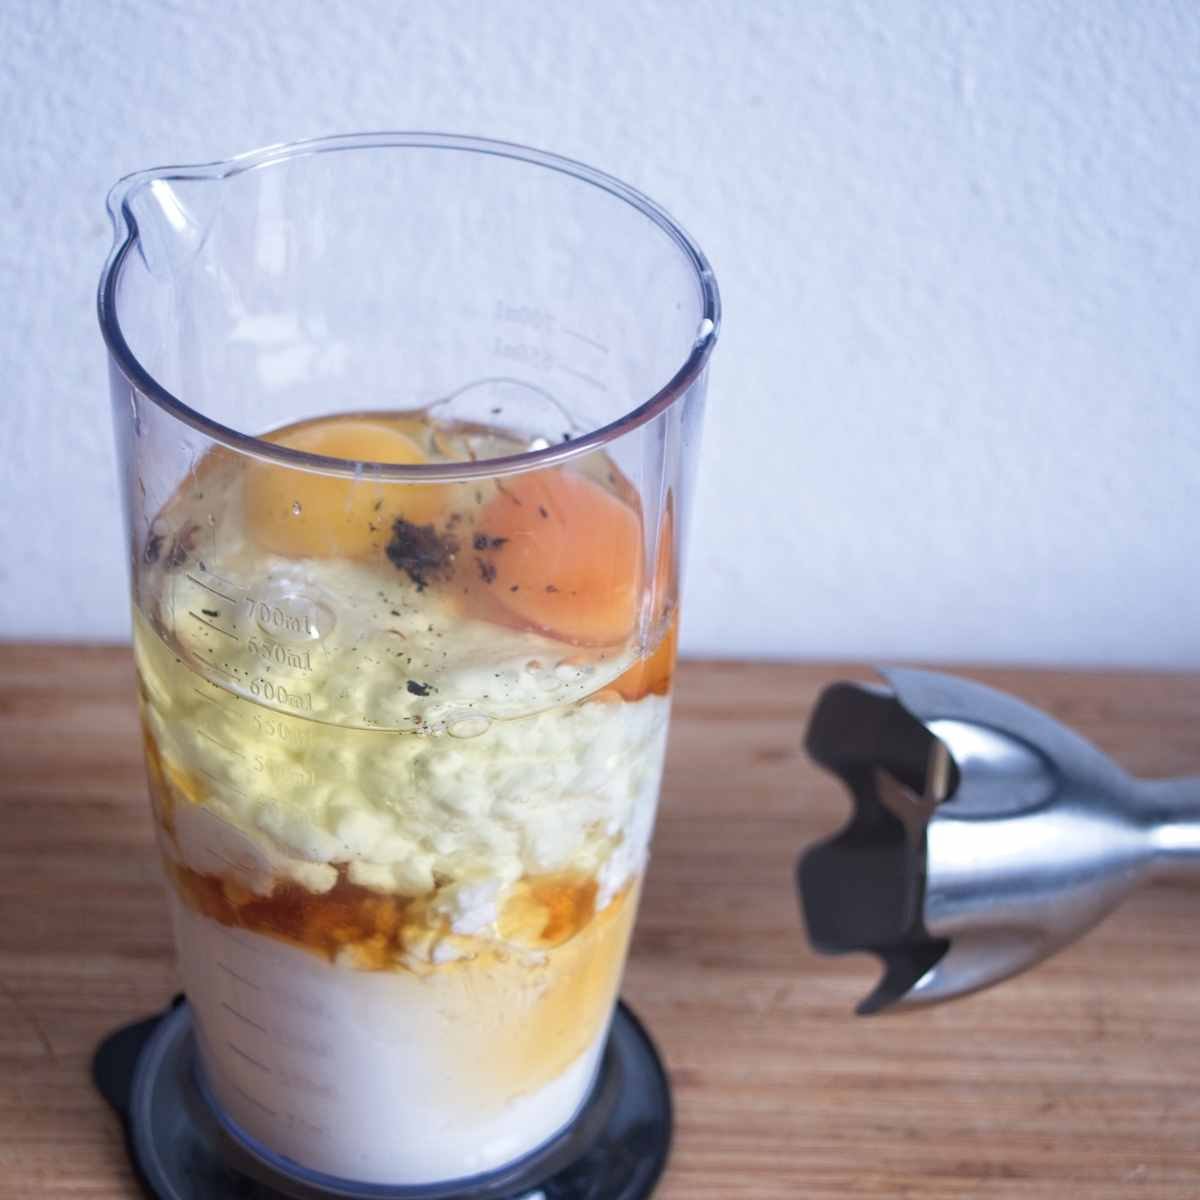
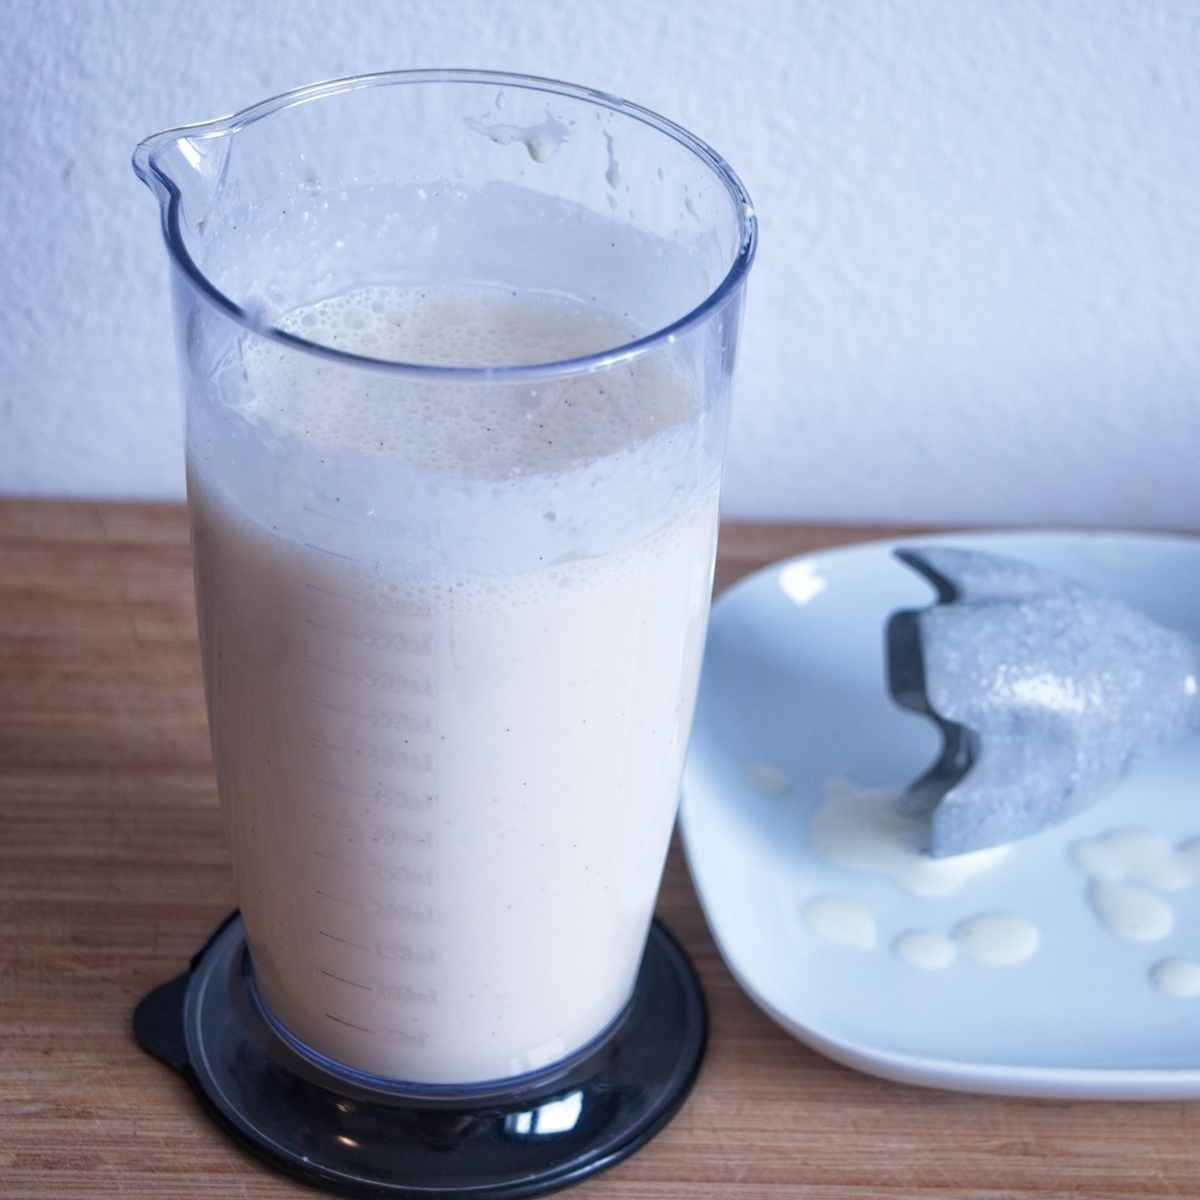
Add the cottage cheese, Greek yogurt, eggs, egg white, honey, and vanilla to a blender or food processor. Blend until completely smooth and glossy, scraping down the sides if needed. The mixture should be pourable with no visible curds.
Tip: A loose batter is expected — the eggs will set during baking.
Taste and adjust
Taste the mixture and adjust sweetness with a little more honey if needed. For extra freshness, add a small amount of lemon zest and blend briefly.
Fill the tin
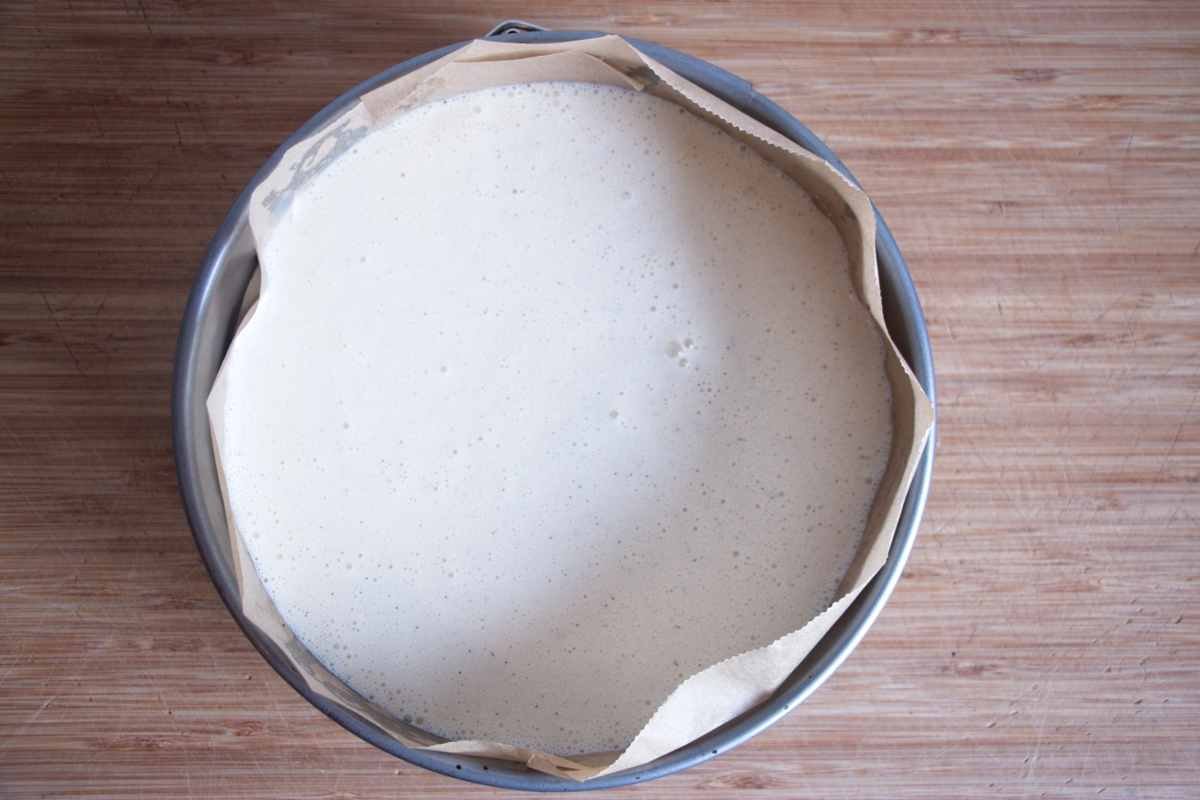
Pour the filling over the baked base. Tap the tin gently on the counter to release any trapped air and level the surface.
Bake gently
Bake until the edges are set and lightly puffed, while the centre still wobbles slightly when the tin is nudged. Avoid baking until fully firm, as the cheesecake continues to set as it cools.
Cool gradually
Turn the oven off, leave the door slightly open, and let the cheesecake rest inside to cool slowly. Remove and allow it to cool further in the tin until just warm before loosening the sides.
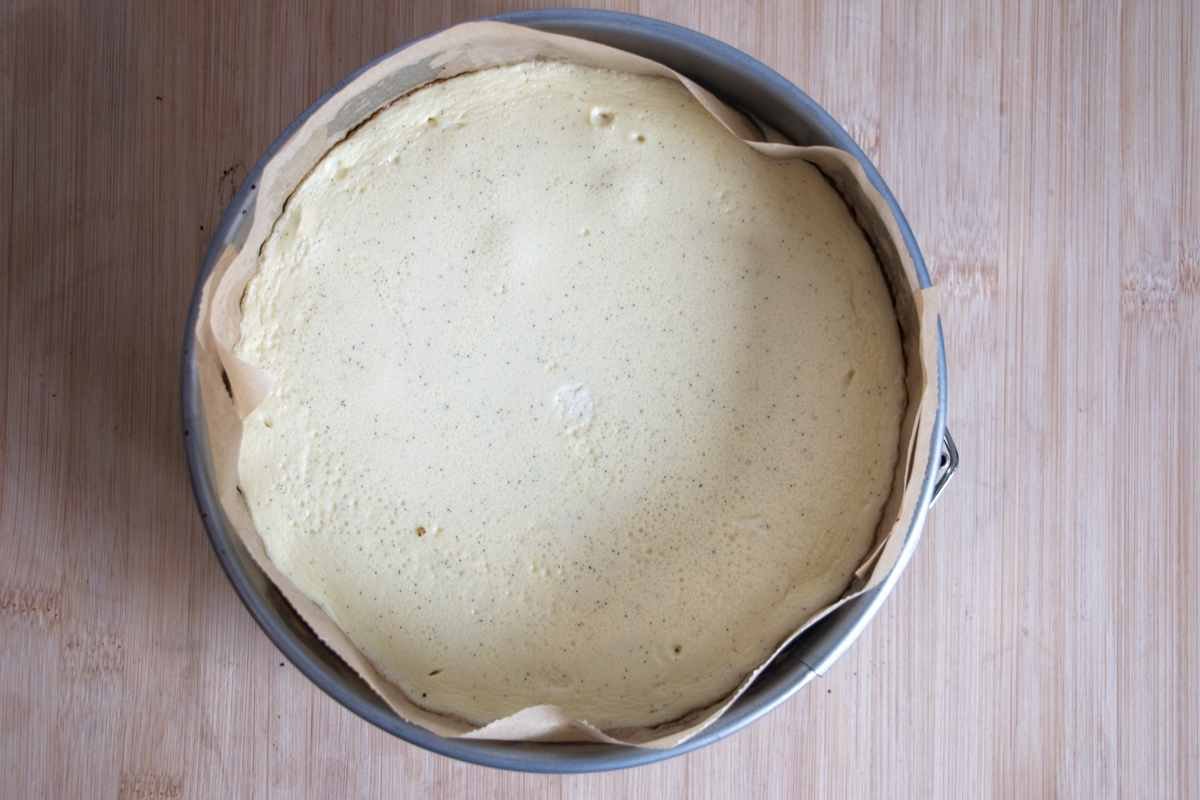
Chill and set
Transfer the cheesecake to the fridge and chill until fully set. The texture will firm up significantly as it cools.
Slice and serve
Remove from the tin and peel away the paper. Slice with a sharp knife, wiping the blade between cuts for clean edges.
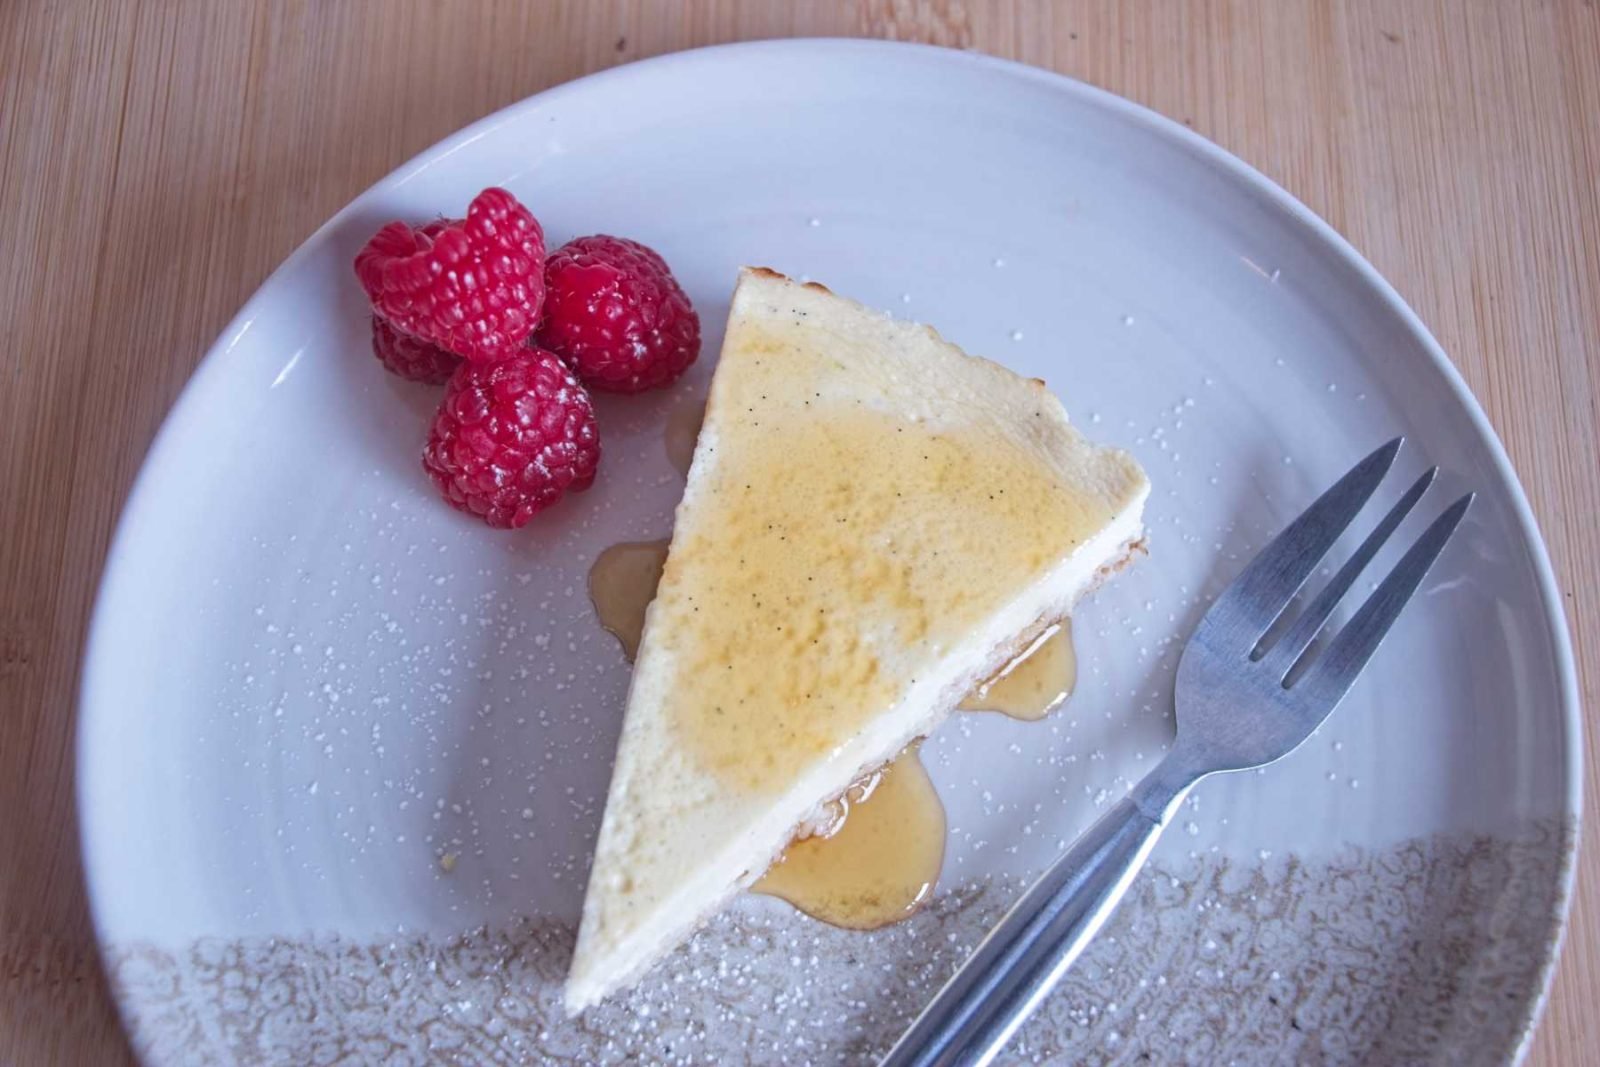
Make-ahead and storage
Store covered in the fridge for up to four days. The cheesecake slices best after a full overnight chill.
Protein Cheesecake Without Protein Powder
Ingredients
Base
- 80 g rolled oats
- 25 g butter melted
- 20 g honey about 1 tbsp
- Pinch of fine salt
Filling
- 300 g cottage cheese
- 200 g Greek yogurt
- 2 large eggs
- 1 large egg white
- 80 g honey about 4 tbsp, plus more to taste
- Seeds from ¼ vanilla pod or 1 tsp vanilla extract
- Pinch of fine salt
- Optional: ½ tsp lemon zest
Instructions
- Heat the oven to 180°C fan and line an 18–20 cm round cake tin with baking paper.
- Blitz the rolled oats to a fine crumb and mix with the melted butter, honey, and salt. Press thinly and evenly into the base of the tin and bake for 8–10 minutes, until lightly golden and dry. Remove from the oven and reduce the temperature to 165–170°C fan.
- Blend the cottage cheese, Greek yogurt, eggs, egg white, honey, vanilla, and salt until completely smooth and pourable, scraping down the sides as needed.
- Pour the filling over the baked base, tap the tin gently to remove air bubbles, and level the surface.
- Bake for 35–45 minutes, until the edges are set and the centre still wobbles slightly when nudged.
- Turn the oven off and cool the cheesecake inside with the door slightly open for 20 minutes, then cool further in the tin until just warm. Chill for at least 4 hours, preferably overnight, before removing from the tin and slicing.
Notes
- Lemon + raspberry: Add 1 tsp lemon zest to the filling and serve with a few fresh raspberries. Keeps the flavour sharp and balanced.
- Maple + cinnamon: Swap honey for maple syrup (same weight) and add ½ tsp cinnamon to the filling for a warmer finish.
- Chocolate version: Add 15–20 g cocoa powder to the filling and an extra spoon of honey if needed to offset bitterness.
- No oats for the base: Use 120 g crushed digestive biscuits + 40 g melted butter for a more traditional crumb.
- No vanilla pod: Use 1 tsp vanilla extract.
- Store covered in the fridge for up to 4 days.
- Freeze in slices for up to 2 months; thaw overnight in the fridge for the cleanest texture.
Yes. The filling sets well on its own, so you can bake it crustless in a lined tin. Chill it fully before slicing, as the edges won’t have the support of a base.
A slight softness is normal, but if it feels loose, it likely needed a little more bake time or an extra egg white. Next time, bake until the edges are fully set and the centre wobbles as one piece rather than rippling.
Maple syrup works at the same quantity and gives a slightly warmer flavour. Granulated sugar also works, but blend thoroughly to ensure it dissolves fully before baking.
This protein cheesecake without protein powder keeps well for up to four days, stored covered in the fridge. The texture is often best on day two once it has fully settled.
Serve chilled, straight from the fridge, for the cleanest slices. A few fresh berries or a light drizzle of honey is enough — it doesn’t need much else.
Sure. I specifically made this protein cheesecake without protein powder because so many recipes out there just add protein powder to boost the macros. I have tried it with adding powder too, and i could add a scoop to the batter (around 35g) without drastically altering the texture. More than that and it starts to taste grainy.