Lion’s Mane Mushroom Nuggets
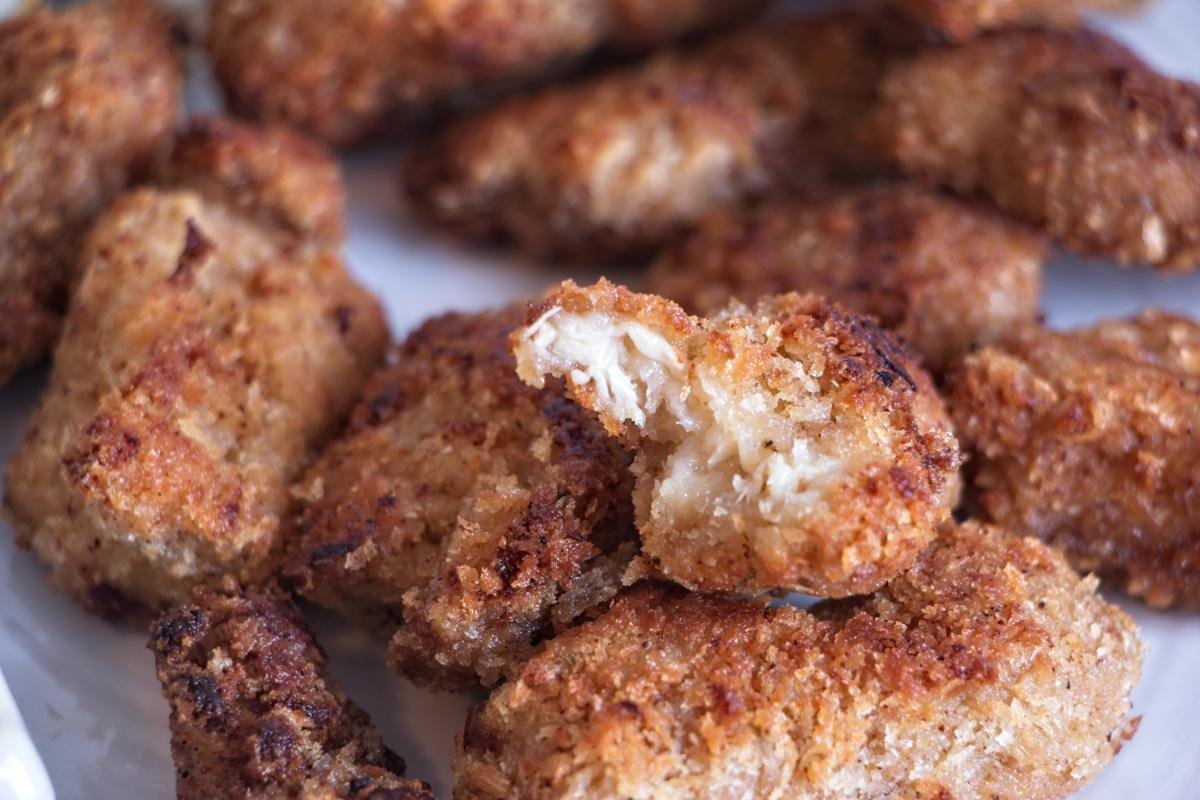
Crispy lion’s mane mushroom nuggets with a deep golden crust and tender interior. A reliable shallow-fry method that keeps them structured and properly crunchy.
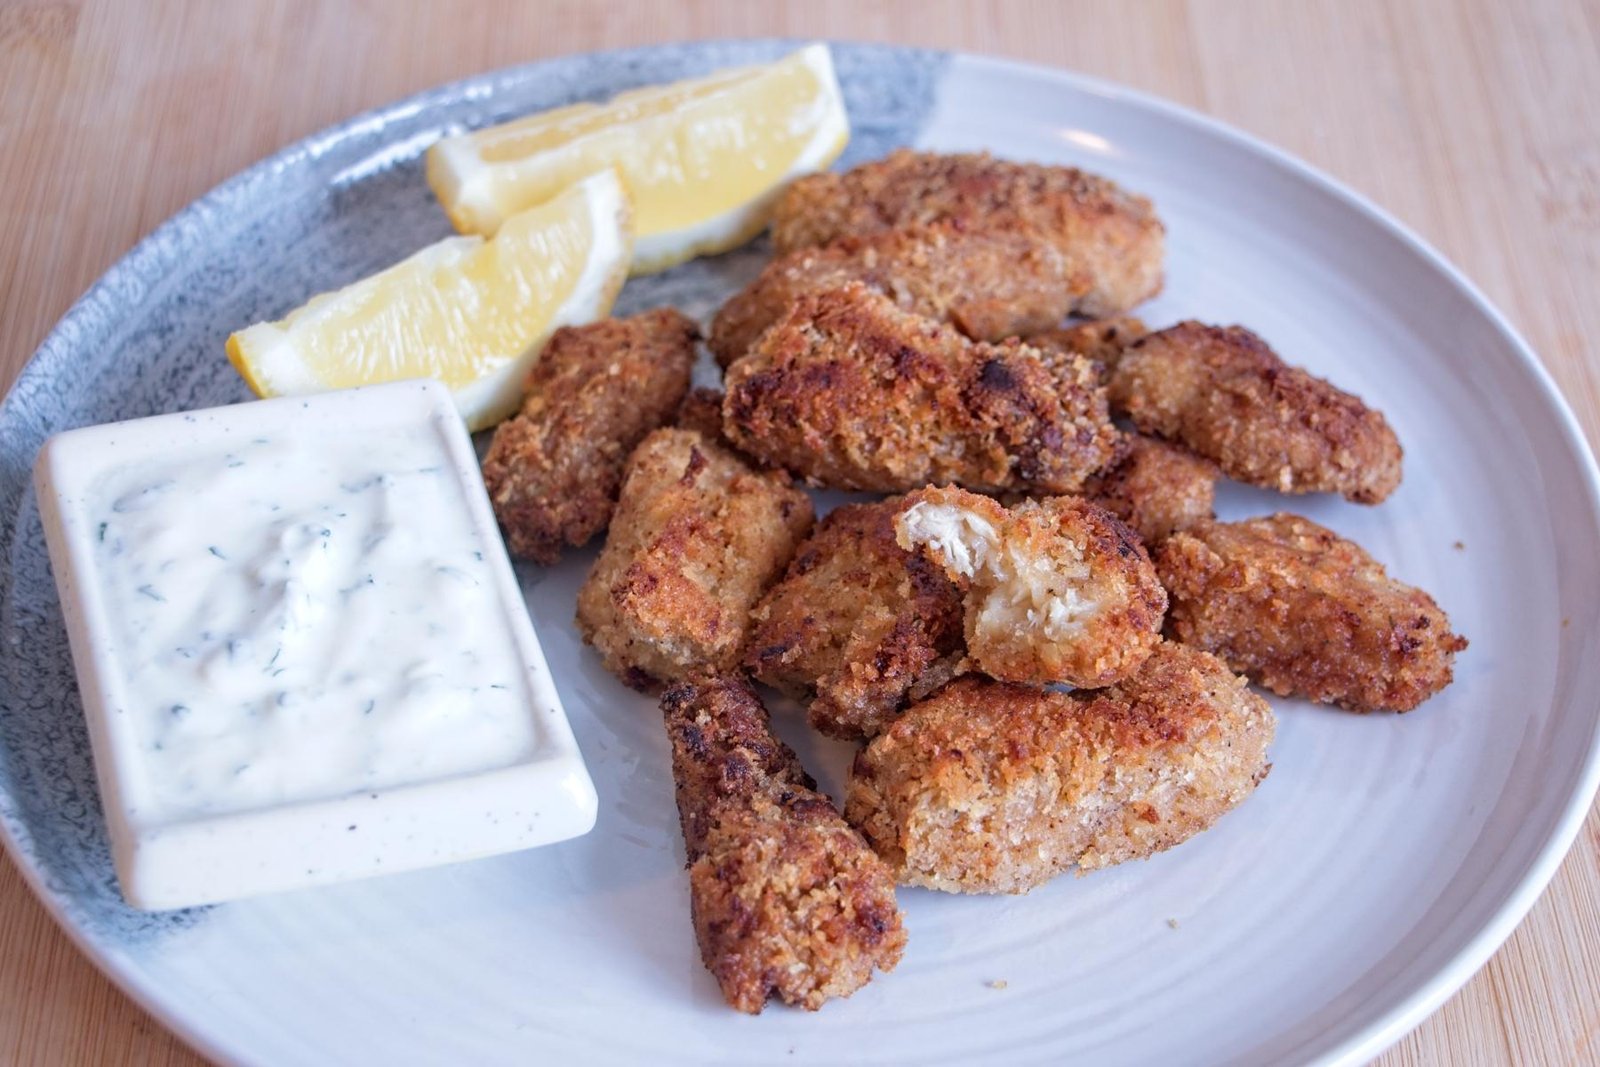
There is something unbelievably satisfying about chicken nuggets. Crispy, a bit fatty, and the texture when you bit into them. Luckily for those of us who don’t eat meat, there is an amazing plant (or technically fungal) alternative that convincingly resembles the real thing – Lion’s Mane Mushroom Nuggets.
Lion’s Mane Mushrooms (Hericium erinaceus) are an “in-food” at the moment, and for very good reason. Sure, they taste great – actually quite convincingly meaty. But more importantly, numerous studies show they offer us a plethora of benefits for our brains and our nerve health. They are being produced in huge amounts and turned into supplements to help us fight against terrible conditions such as dementia. I also grow it for this reason, but luckily we also get these benefits by eating the mushroom as well.
About Lion’s Mane mushroom Texture & Structure
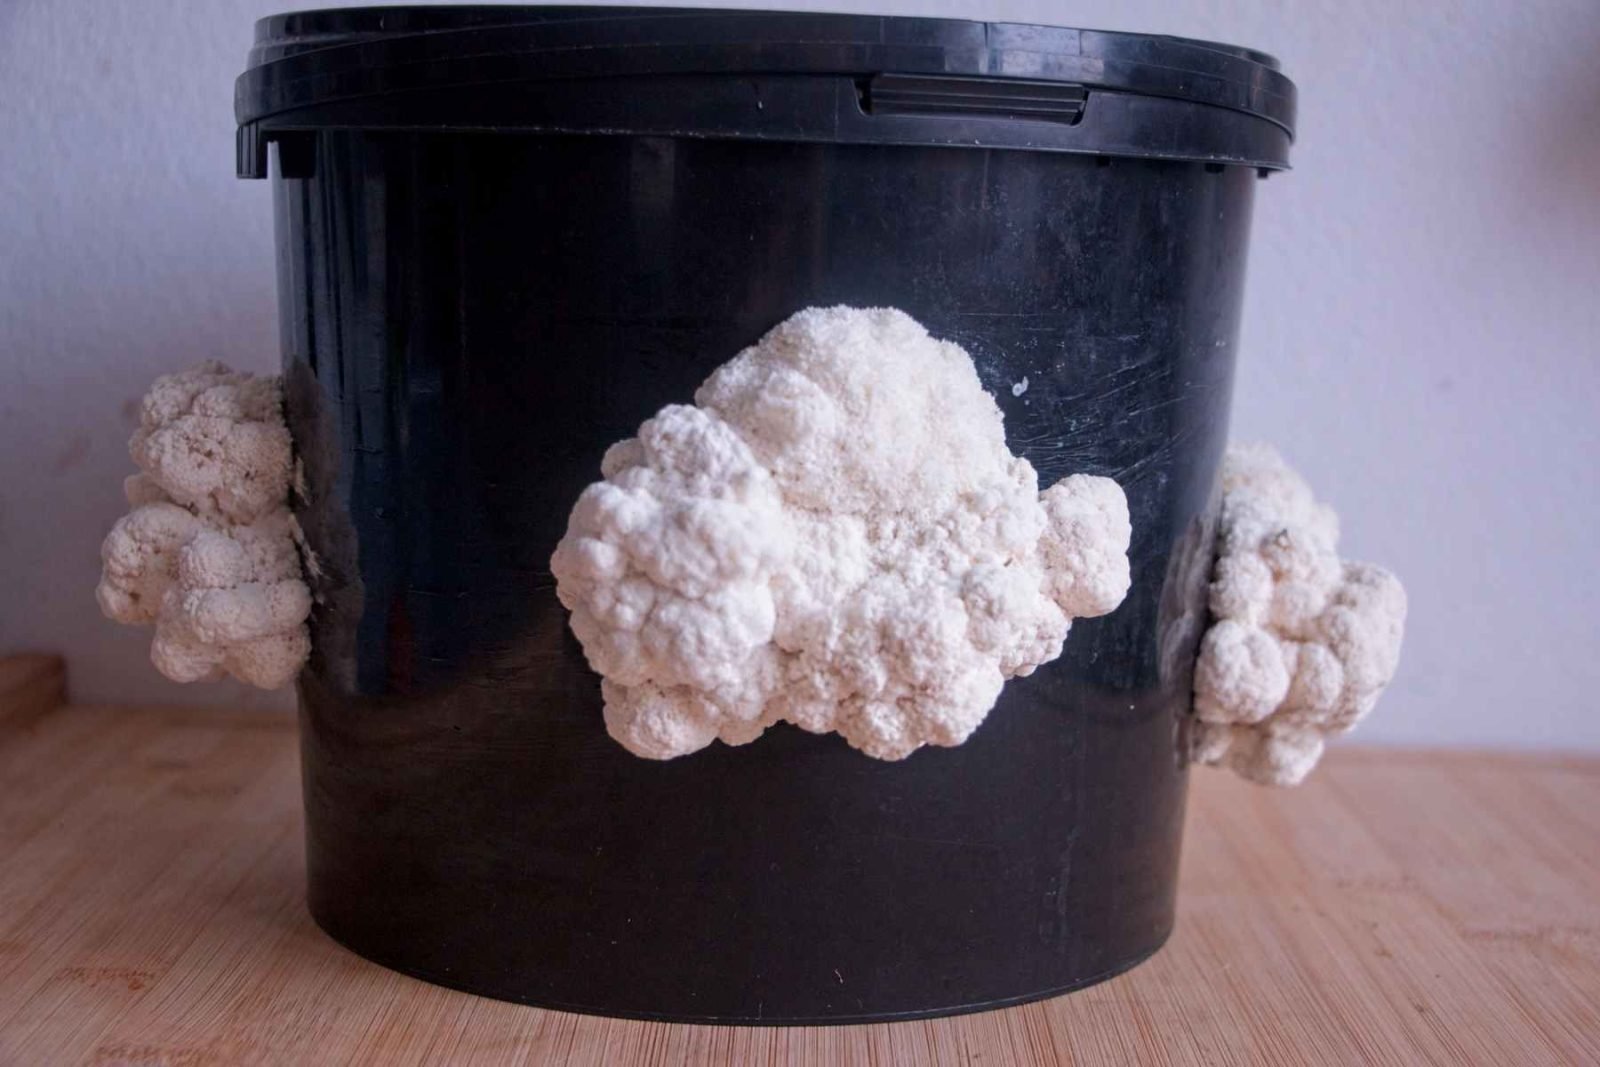
Lion’s Mane (also known as yamabushitake) grows in highly irregular forms. It can develop into dense, compact masses or light, airy pom-pom clusters — and often both within the same mushroom.
This variation matters when cooking, and what it is best suited for.
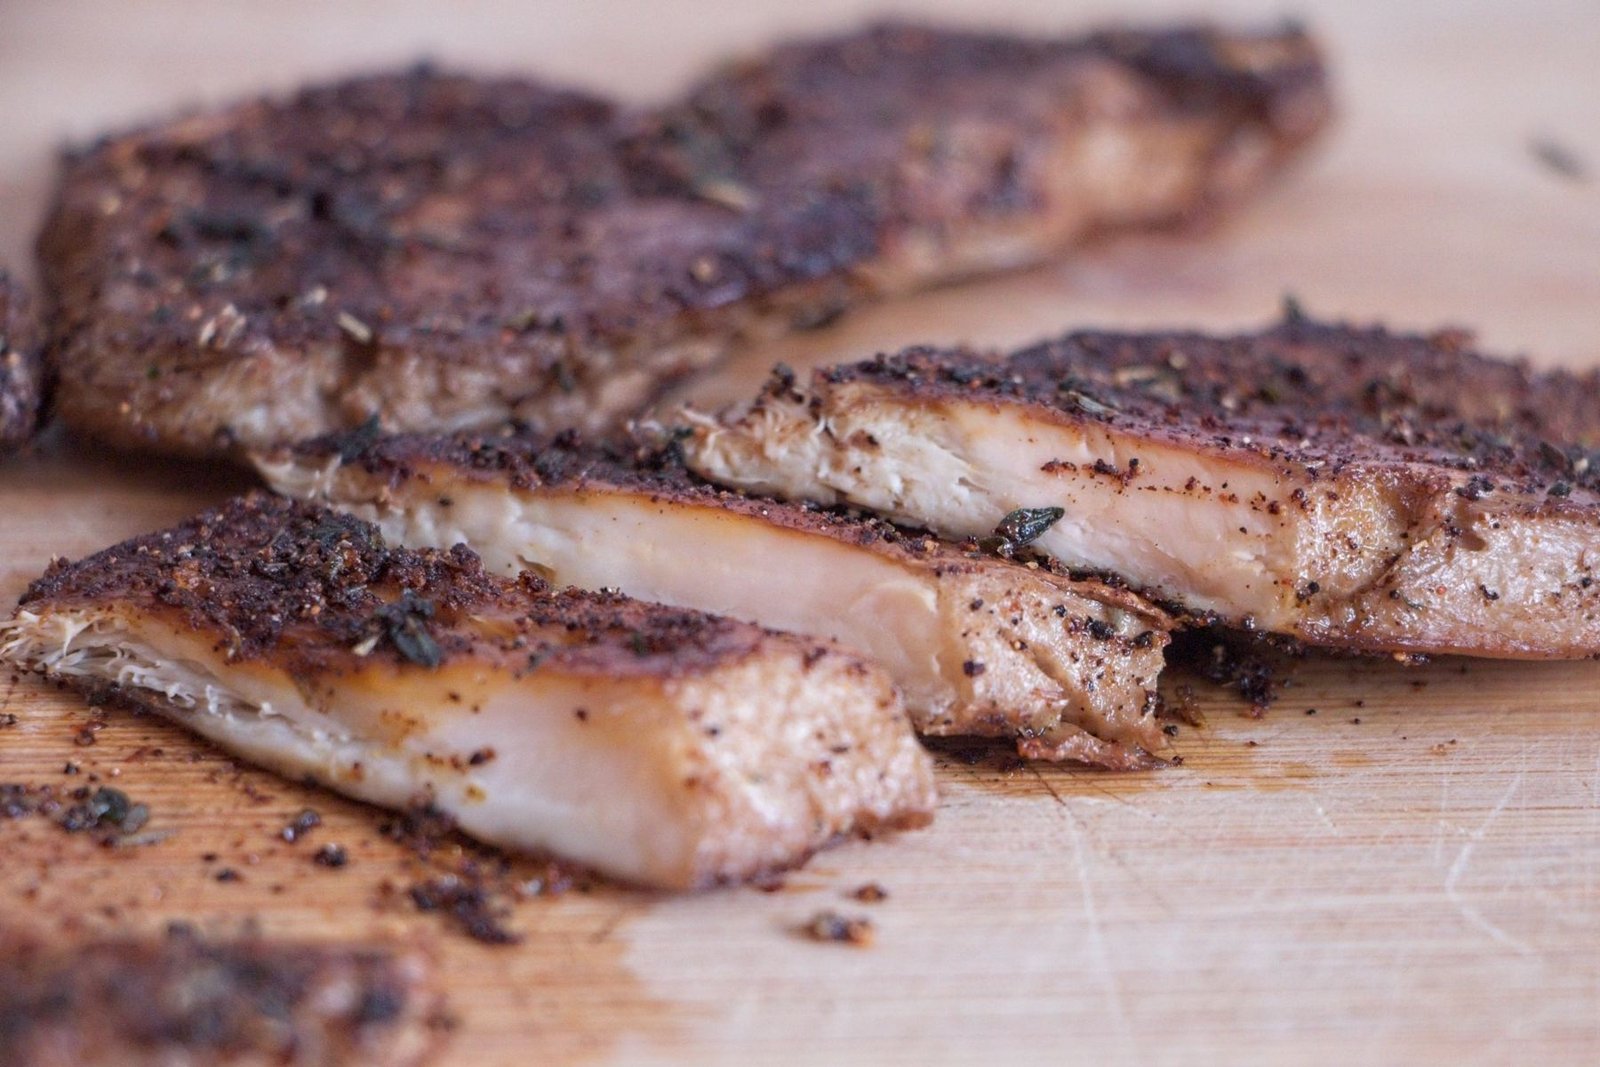
When I have a large, dense mass, I make Lion’s Mane steak with it every time. The compact structure sears amazingly and holds together in thick slabs; using it for anything else feels like a waste.
When I have larger, lighter, airer specimens, I lean towards either making lion’s mane crabcakes, or pulled Lion’s mane, as it’s really easy to shred and mimic the texture of crabmeat and pulled pork.
For Lion’s Mane Mushroom Nuggets, I prefer mushrooms that sit in the middle. Not overly dense, not too airy — just structured enough to hold their shape when torn, but open enough to stay tender inside a crisp coating.
Ingredients Breakdown
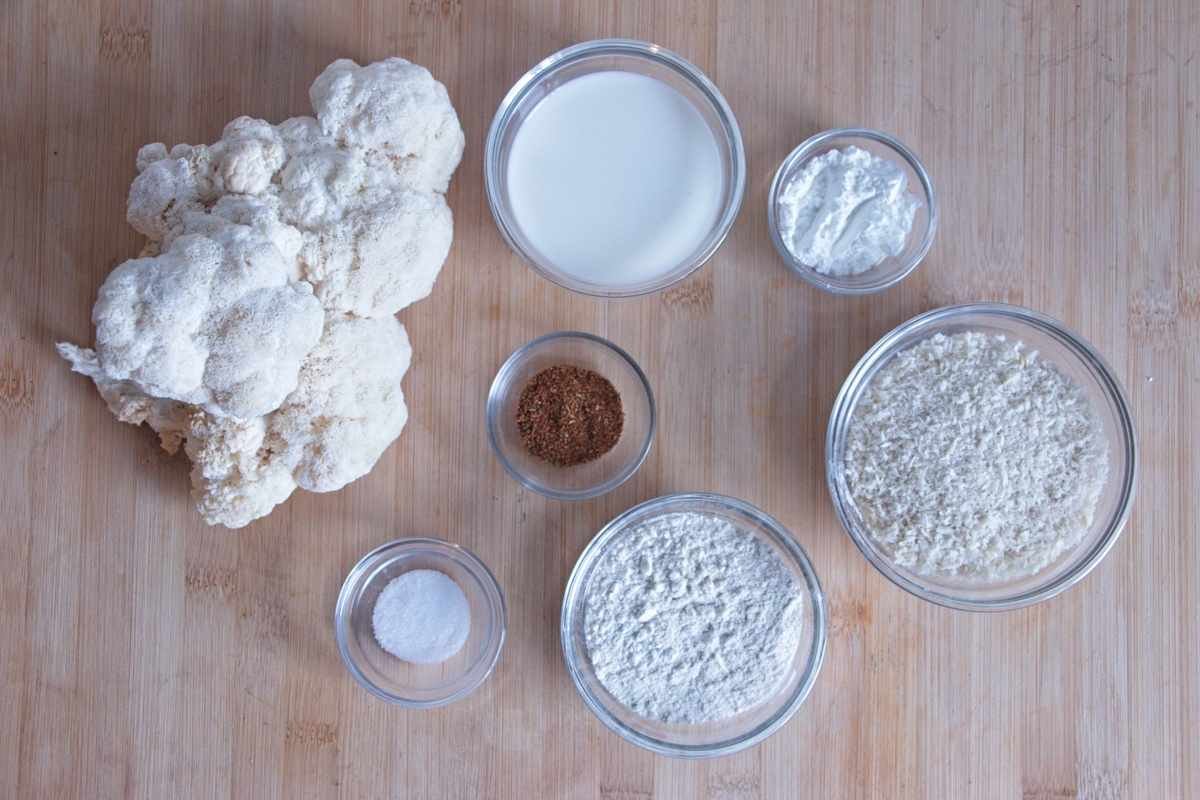
To make Lion’s Mane Mushroom Nuggets, you will need the following ingredients.
- Lion’s Mane Mushroom
- Plain Flour
- Cornflour
- Milk (or Plant Milk)
- Panko Breadcrumbs
- Blackening Seasoning OR Smoked Paprika & Garlic Powder
- Salt
- Neutral Oil
Step-by-Step Instructions
Prepare the Mushroom
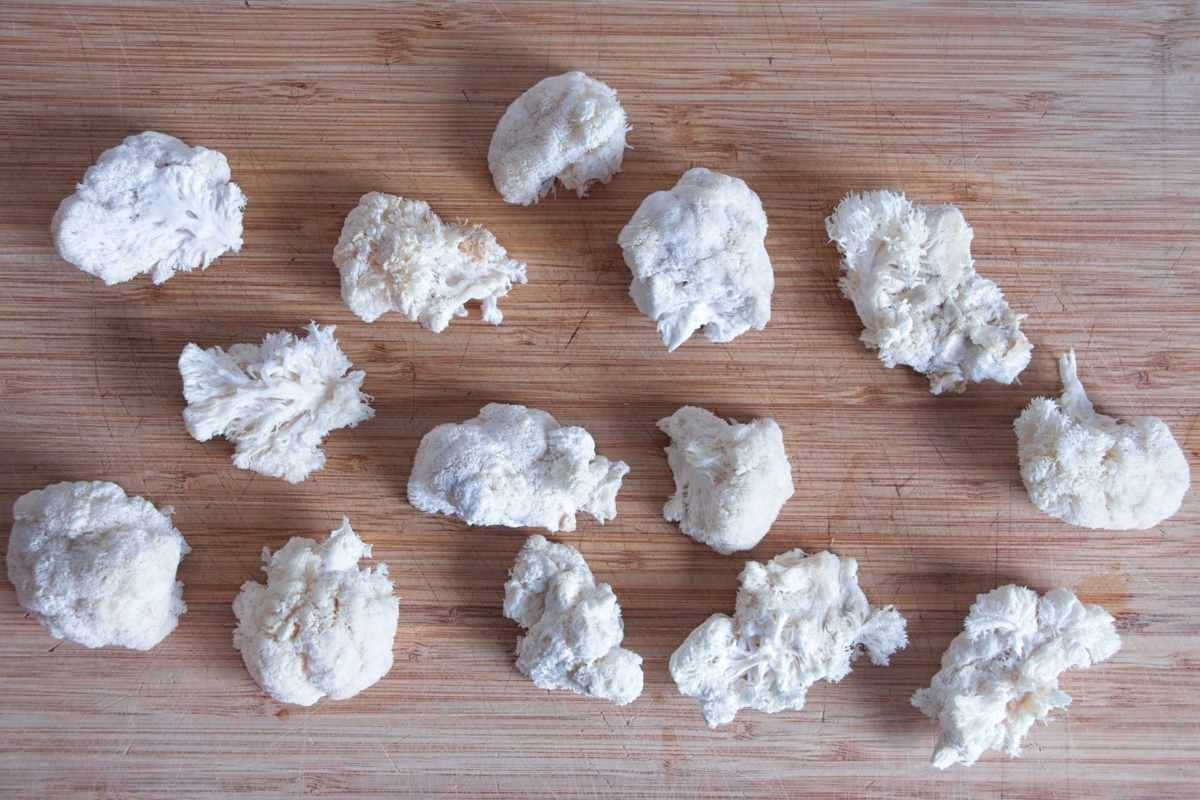
Tear 200g Lion’s Mane into chunky, nugget-sized pieces (about 4–6 cm wide), keeping the natural fibres intact rather than slicing. Trim away any tough base if present. Work with pieces that are neither too dense nor too airy for the most balanced texture.
Remove Excess Moisture
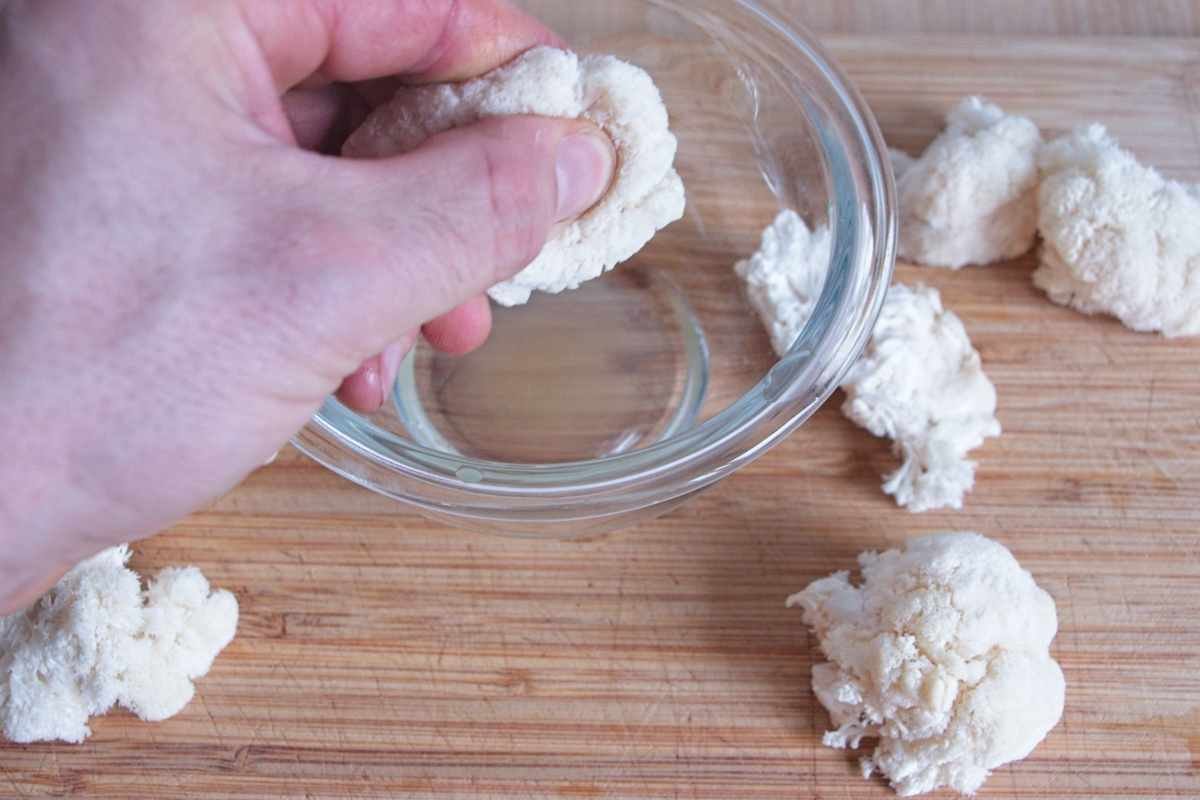
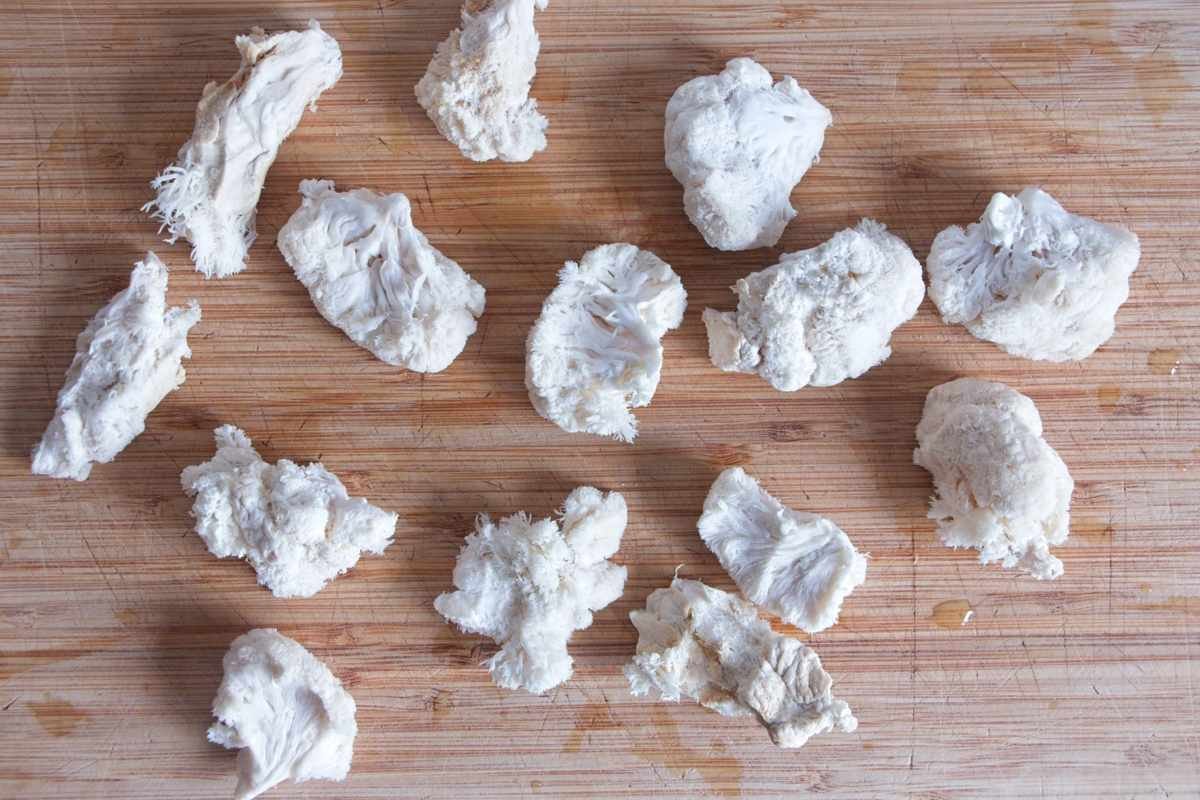
Take a torn piece of Lion’s Mane, and firmly squeeze it in your hand. Don’t crush them flat — apply steady pressure until you feel water release and the surface feels noticeably drier. Keep applying pressure until the trickle of water slows down. Don’t squeeze harder and harder to release more liquid. Just a steady grip will do it.
This step is especially important if you grow your own in a very humid Martha Tent, or foraged for it after a rainy day. Lion’s Mane can hold a huge amount of water, and if you don’t remove most of it before cooking, you will end up with soggy nuggets.
Set Up the Coating
In a medium bowl, combine plain flour, cornflour, and salt, mixing thoroughly so the seasoning is evenly distributed.
In a second bowl, pour in enough milk to comfortably dip each piece and allow excess to drip off.
In a third bowl, mix panko breadcrumbs with blackening seasoning or smoked paprika and garlic powder, stirring well so the spices coat the crumbs evenly.
Keep the bowls arranged in order — flour, milk, then panko — to make coating smooth and efficient.
Coat the Nuggets
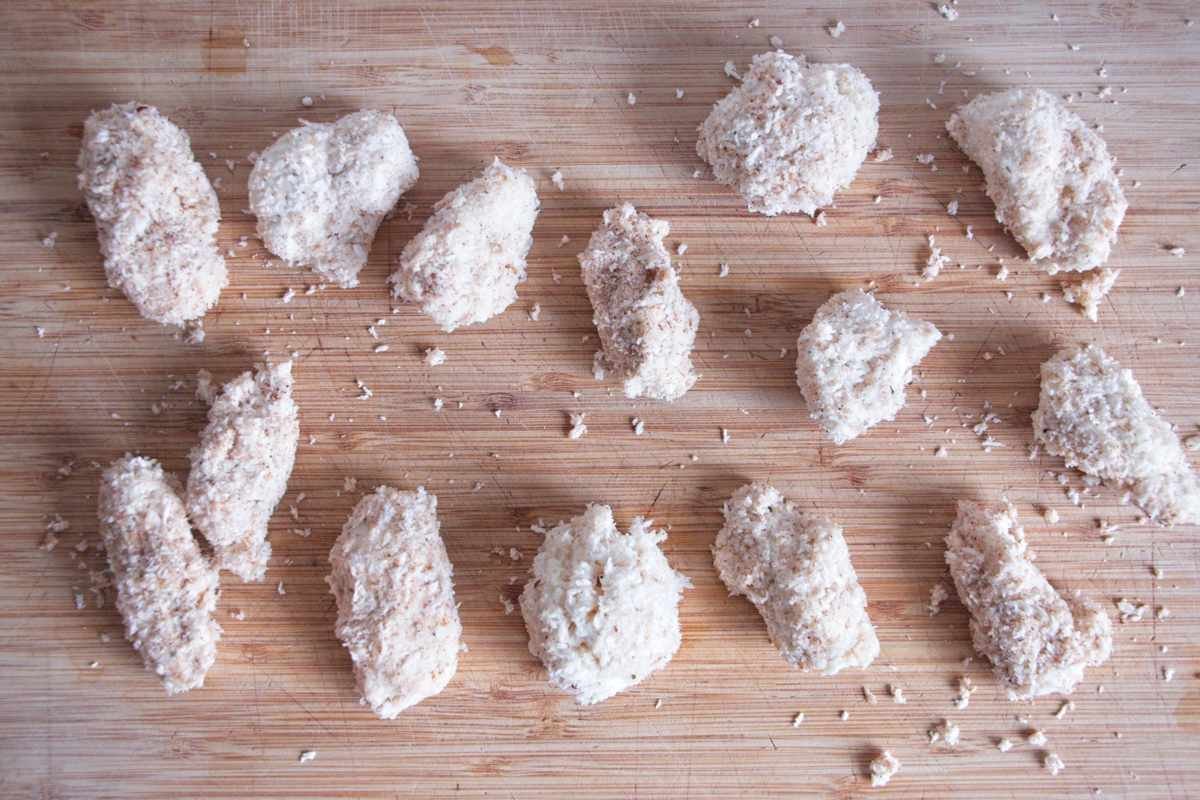
Dust each mushroom piece thoroughly in the flour mixture, shaking off excess. Dip each piece briefly into the milk — just enough to wet the surface — then lift it straight out. Press firmly into the panko so crumbs adhere to all sides.
Let the coated nuggets rest on a wire rack for 5 minutes before frying. This hydrates the flour layer slightly and improves adhesion during cooking.
Important: Do this one or two at a time. Don’t allow the flour coated mushrooms more than a second or two in the milk, or they will absorb all the liquid we just removed from them!
Heat the Oil
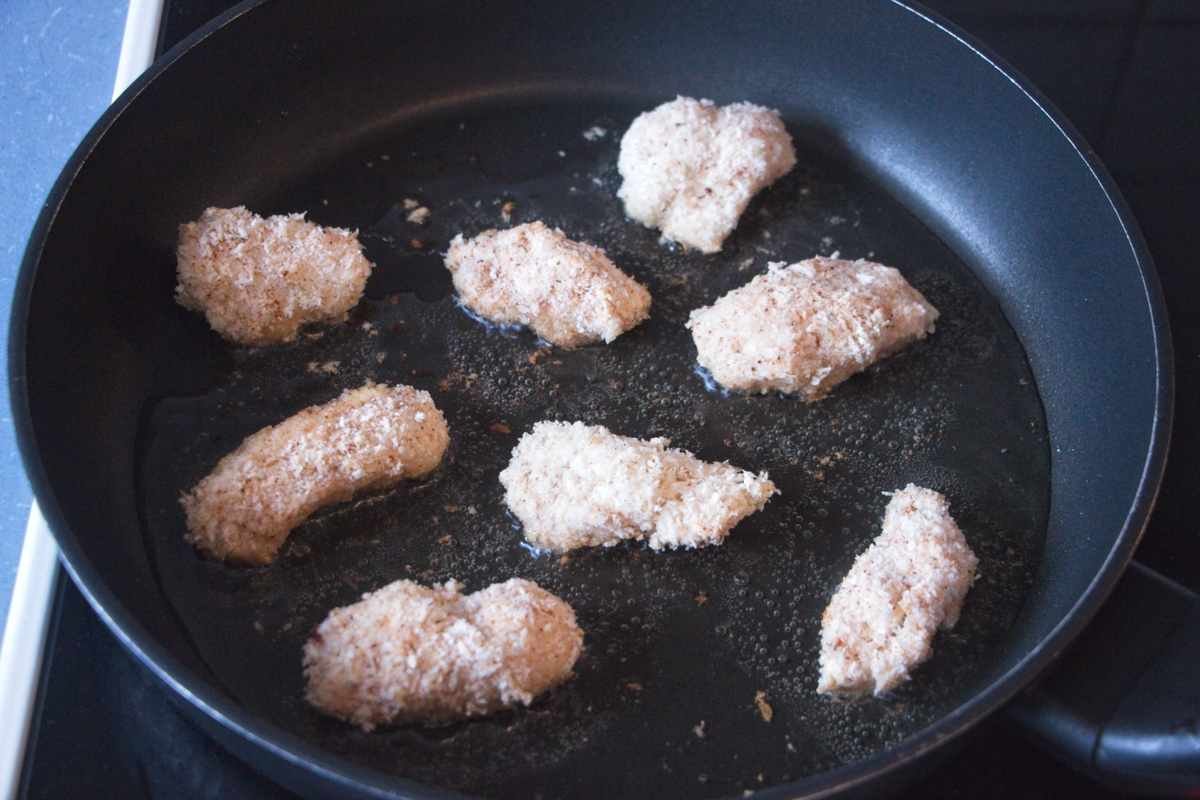
Use a medium, heavy-based frying pan (about 24 cm). Add neutral oil to a depth of 1–1.5 cm. Heat to 175–180°C; if you don’t have a thermometer, a breadcrumb should sizzle immediately but not burn.
Maintain steady medium heat — if the oil drops below temperature, the coating absorbs oil instead of crisping.
Fry Until Deep Golden
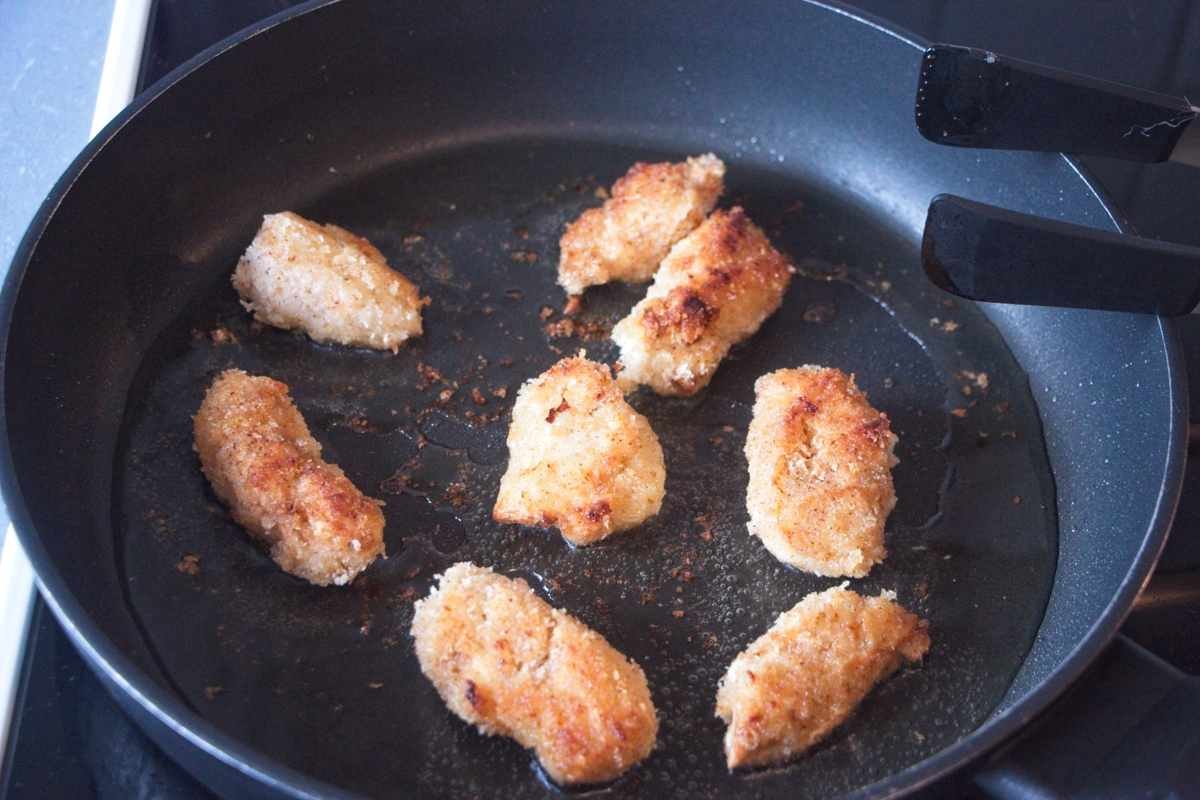
Fry in small batches without overcrowding. Cook 2–3 minutes per side, turning once the underside is a deep golden brown. Avoid moving them too early; let the crust set before flipping.
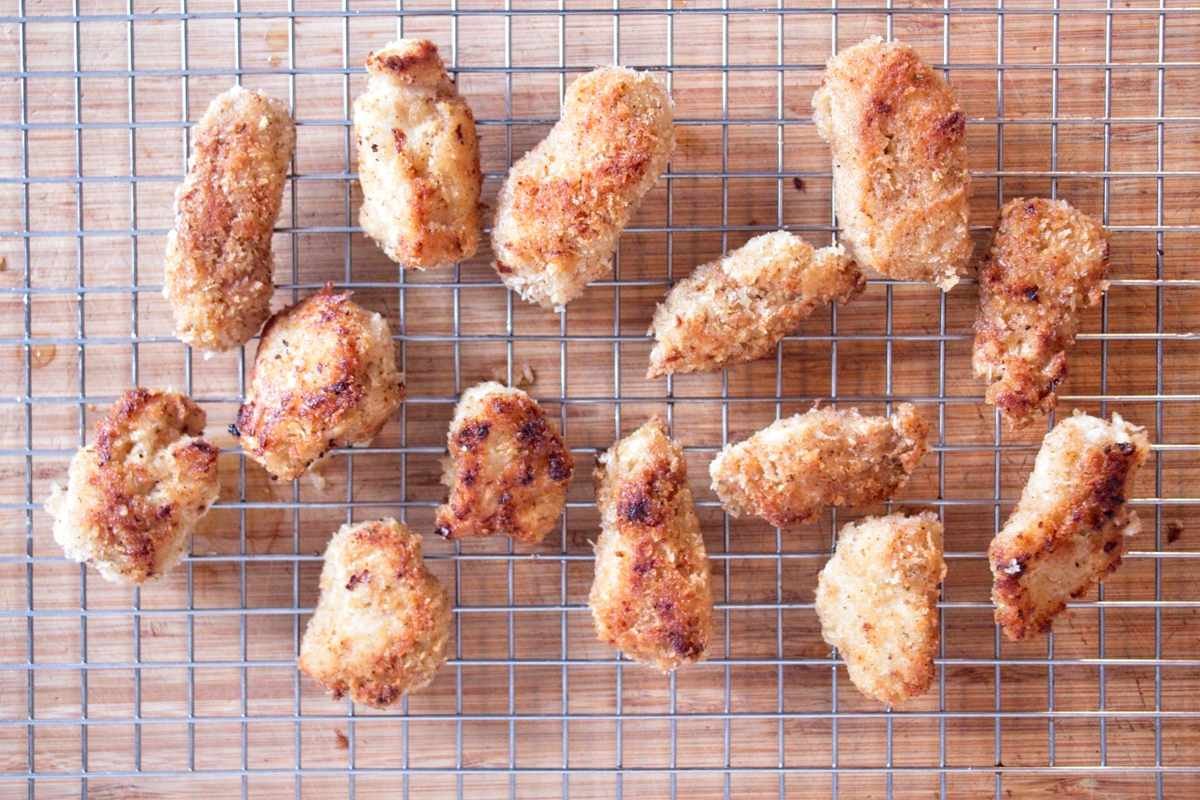
Remove when evenly coloured and crisp, then transfer to a wire rack. Do not drain on paper, as trapped steam softens the base.
Rest, Then Finish
Allow the nuggets to rest on the rack for 3–5 minutes so surface steam can escape.
For maximum crunch, finish in:
- Air fryer at 190°C for 4–6 minutes, or
- Oven at 200°C for 6–8 minutes.
They are ready when the crust feels firm to the touch and sounds hollow when tapped lightly.
What to Serve with Lion’s Mane Mushroom Nuggets
These nuggets are rich and crisp, so they benefit from contrast — something sharp, fresh, or lightly acidic to balance the coating.
Lemon Garlic Yoghurt
A cool, tangy dip cuts through the fried crust and keeps the plate from feeling heavy.
Sharp Slaw
Thinly sliced red cabbage with lemon juice or apple cider vinegar adds crunch and acidity.
Ketchup
Chicken nuggets and ketchup is a classic combo, and the same rule applies with vegan nuggets too! Homemade is always better.
Lion’s Mane Mushroom Nuggets
Ingredients
- 200 g lion’s mane mushroom
- 2 tbsp plain flour
- 1 tbsp cornflour
- ½ tsp fine salt
- 100 ml milk or unsweetened plant milk
- 55 g panko breadcrumbs
- 1 tsp blackening seasoning or ½ tsp smoked paprika + ½ tsp garlic powder
- neutral oil for shallow frying
- 1 lemon cut into wedges (optional)
- Flaky salt to finish (optional)
Instructions
- Tear the lion’s mane into nugget-sized pieces (about 4–6 cm wide). Trim any tough base.
- Take each piece of mushroom one by one and squeeze firmly to remove excess moisture without crushing the texture.
- Set up three bowls: mix flour, cornflour, and salt in the first; pour milk into the second; mix panko with blackening seasoning (or paprika and garlic powder) in the third.
- Coat one or two pieces at a time: toss in the flour mix, dip in milk for 1–2 seconds (do not soak), then press firmly into the panko until fully coated.
- Place coated pieces on a wire rack and rest for 5 minutes to help the coating set.
- In a 24 cm heavy-based frying pan, heat neutral oil to a depth of 1–1.5 cm and bring to 175–180°C.
- Fry in small batches for 2–3 minutes per side until deep golden and crisp. Transfer to a wire rack (not paper).
- Optional finish for longer-lasting crunch: air fry at 190°C for 4–6 minutes or bake at 200°C for 6–8 minutes.
- Season with flaky salt and serve with lemon wedges if using.
Notes
Variations and Substitutions
- Cajun-style: Use blackening seasoning and finish with extra lemon; serve with ketchup plus a dash of hot sauce.
- Smoky-garlic: Swap blackening for smoked paprika + garlic powder + a pinch of onion powder.
- Peppery-herb: Add ½ tsp dried oregano to the panko and finish with cracked black pepper and lemon zest.
Substitutions
- No panko: Use 55 g coarse breadcrumbs; the crust will be tighter and slightly less crisp.
- No milk: Use an egg wash (1 egg + 1 tbsp water) for a firmer coating, or keep it vegan with plant milk.
Diet notes
- With plant milk, these are vegan and dairy-free. They are not gluten-free unless you use gluten-free flour and gluten-free panko.
They were likely crisp at first but softened from internal steam. Let them rest on a wire rack, not paper, and finish them in a hot oven or air fryer for a few minutes to drive off excess moisture. Also check that your oil stays around 175–180°C during frying.
Yes, especially for nuggets. Pressing out excess moisture helps the coating adhere and reduces steam buildup after frying. You don’t need to crush them — just firm pressure until they feel noticeably lighter.
You can, but the crust won’t be quite as deep or structured as shallow frying first. Spray them well with oil and cook at a high temperature, turning halfway through. Expect a lighter crunch rather than a thick, golden shell.
They’re best eaten immediately. If needed, fry them earlier in the day and reheat in a 190–200°C oven or air fryer until crisp again. Avoid storing them in a sealed container while warm, as trapped steam softens the crust.
You can use coarse fresh breadcrumbs, but the texture will be denser. Avoid very fine, dry breadcrumbs — they produce a thinner, less stable crust. For extra crunch, mix in a small amount of crushed cornflakes with standard crumbs.