
No-Bake Chocolate Peanut Butter Protein Bars
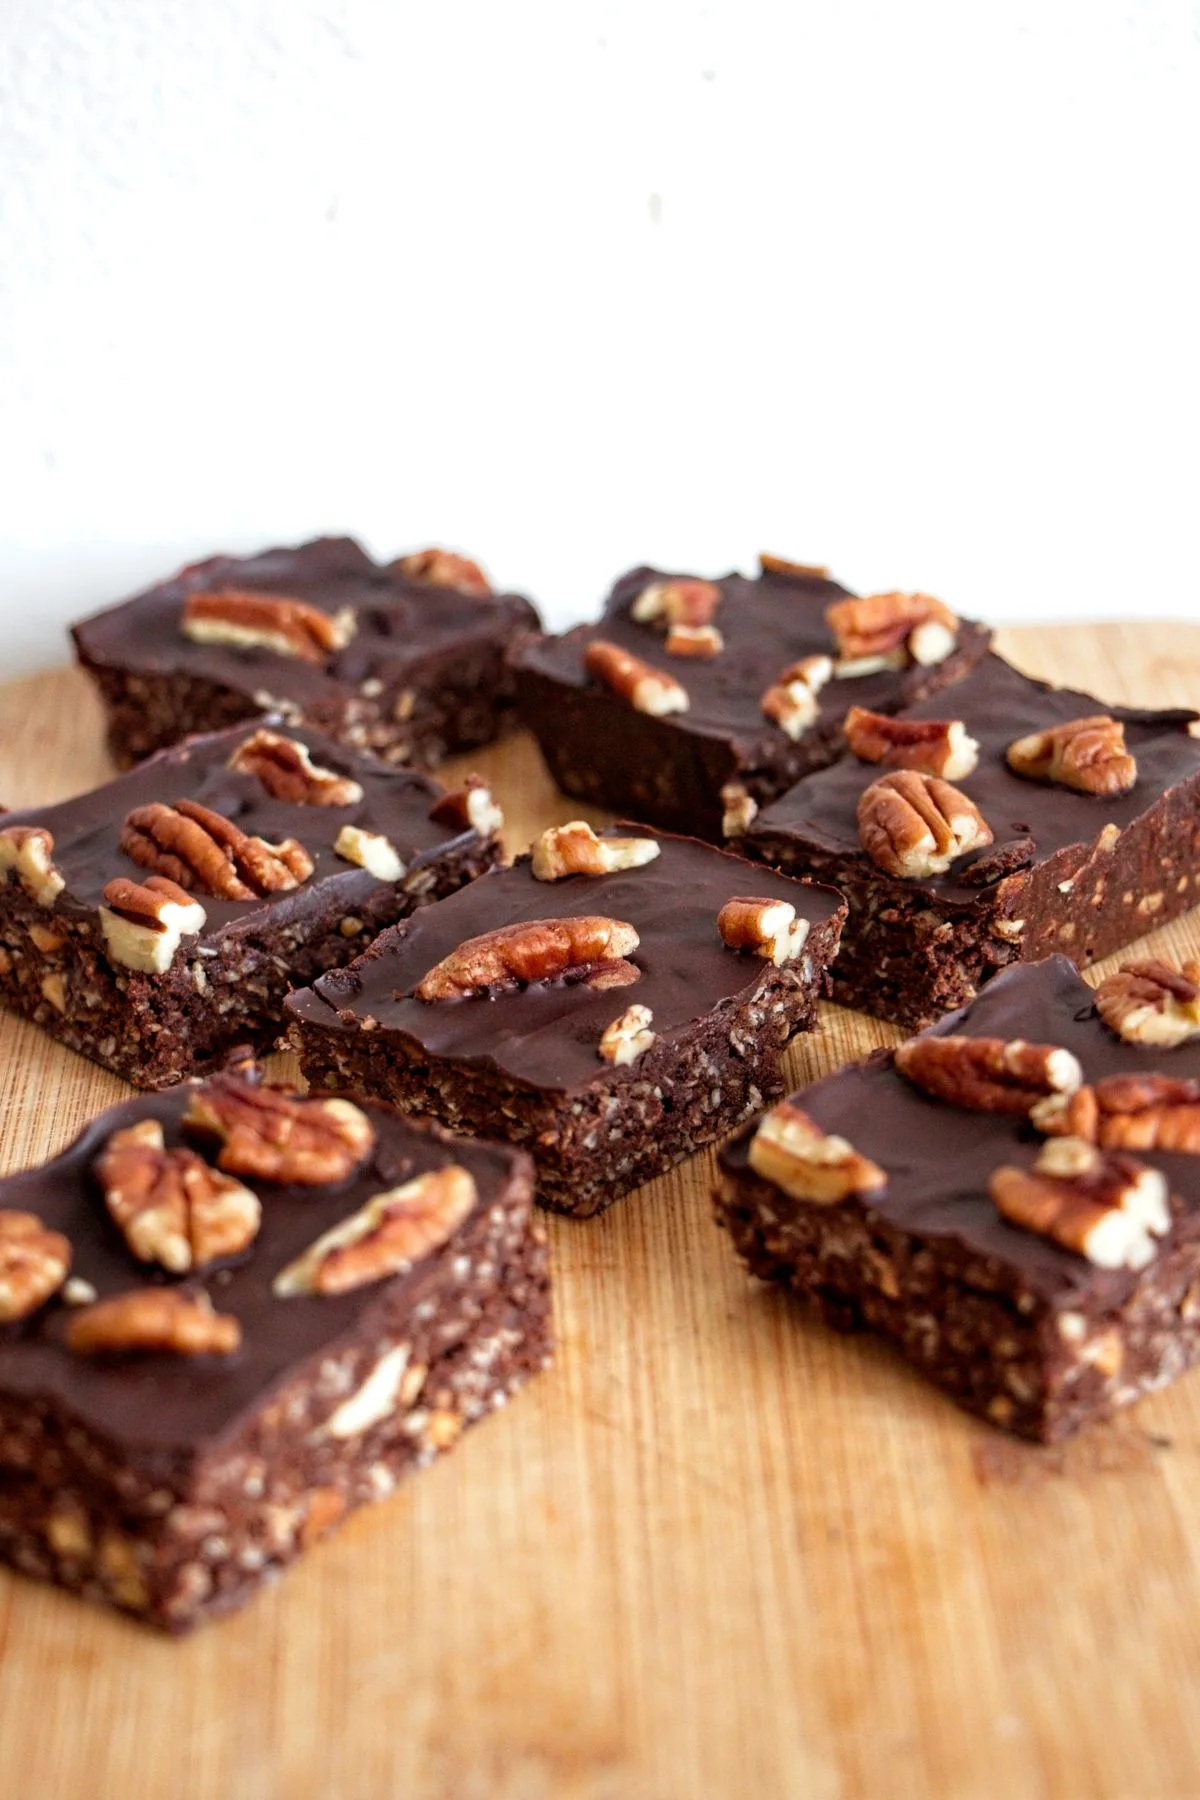
These chocolate peanut butter protein bars are easy to make, high in protein, and perfect to grab straight from the fridge.

Most homemade protein bars fall into one of two categories: they’re either dry and crumbly, or they taste like straight protein powder. And if you’ve ever bought them instead, you already know the trade-off — they’re convenient, but often overpriced and packed with ingredients you don’t really want. These no-bake chocolate peanut butter protein bars fix both problems.
They’re simple to make, use basic ingredients, and most importantly — they actually hold together properly. No crumbling, no chalky texture, just firm, sliceable bars you can grab straight from the fridge.
I started playing around with homemade protein bars a few years ago. I love to go work out at 6:00 AM before getting on with the rest of my day. But I am also the kind of person who NEEDS to eat before doing anything. I always struggled with getting a bowl of muesli down me so early, so the natural solution was to make a bar that could power my gym session, and I could easily eat it on the go.
Made with plenty of slow-release carbs, high protein, and a good amount of fibre, these no-bake chocolate peanut butter protein bars might be small, but they’ll keep you powered for hours — with around 12g of protein and 200 calories per bar.
Ingredients
These bars use simple ingredients, but each one plays an important role in the final texture.
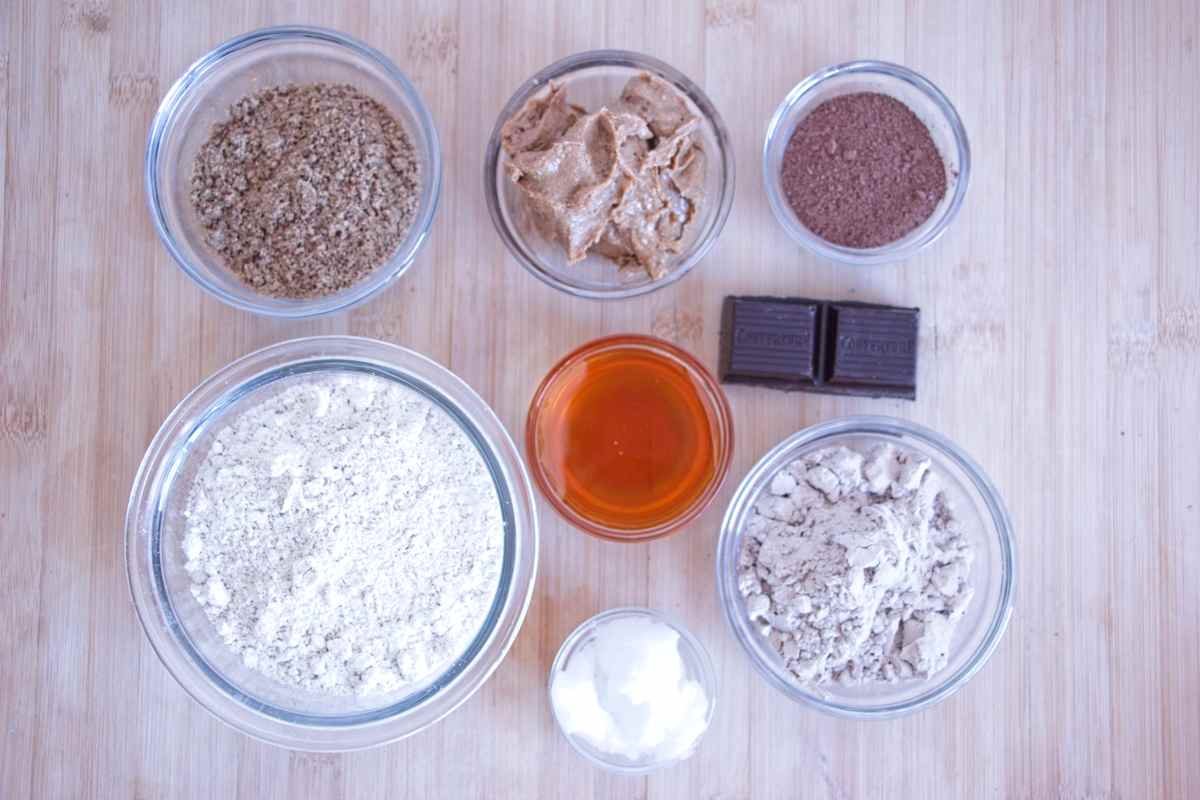
- Peanut butter: Acts as the main binder and adds healthy fats. Use a natural peanut butter (just peanuts + salt) for the best texture.
- Protein powder: Boosts the protein and helps bind everything together. Different protein powders absorb liquid differently, so you may need to adjust depending on what you use. I like to use soy protein for this kind of thing as it is very absorbent.
- Oat flour: Adds structure and a soft, slightly chewy texture. If you don’t have oat flour, you can just run some oats though a coffee grinder.
- Ground flaxseed: Helps bind the mixture and improves texture without making it dry. Also gives the bars a decent fibre boost.
- Maple syrup or honey: Adds sweetness and helps the mixture stick together. Maple syrup keeps it vegan, while honey gives a slightly richer flavour.
- Dark chocolate: Adds a rich finish and a bit of snap.
- Coconut oil: Helps the chocolate melt smoothly and prevents it from becoming too hard when set.
How to Make No-Bake Chocolate Peanut Butter Protein Bars
Mix the wet ingredients
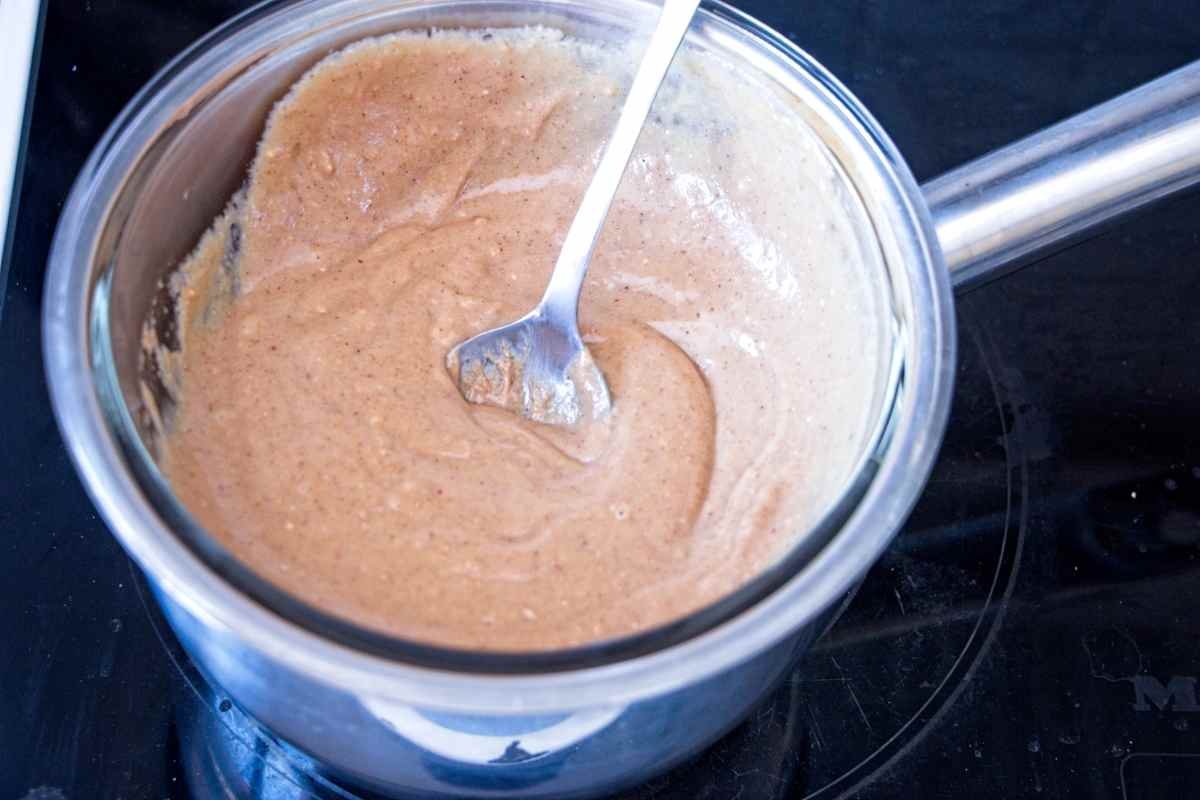
Gently heat the peanut butter, maple syrup, and coconut oil until smooth and fully combined. Remove from the heat and stir in the vanilla if using.
Add the dry ingredients
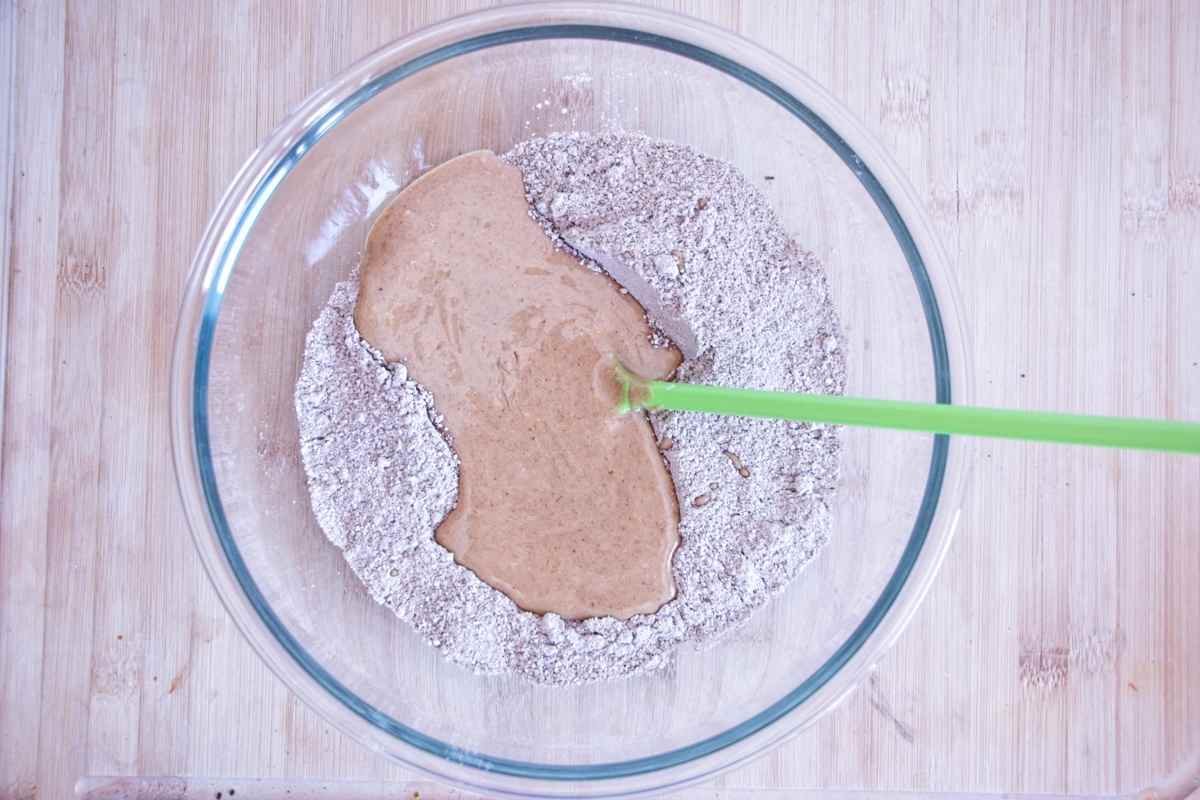
Add the oat flour, protein powder, cocoa powder, flaxseed, and salt to the bowl.
Mix into a dough
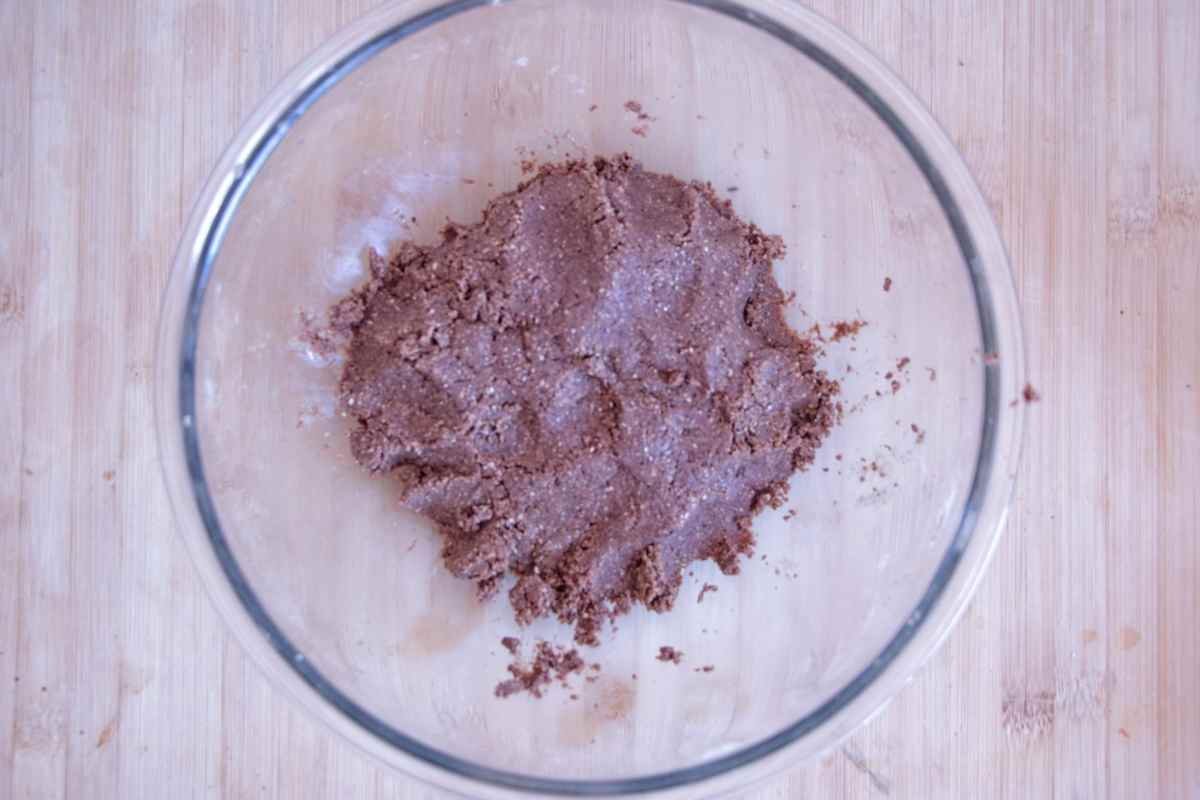
Stir until the mixture starts to come together, then switch to your hands and press/knead until you get a thick, cohesive dough. It should feel like firm cookie dough — not dry or crumbly.
Let it rest
Leave the mixture for 2–3 minutes so it can firm up as the oats, flax, and protein absorb moisture.
Press into the tin
Line a 20 × 20 cm (8 × 8 inch) tin with baking paper.
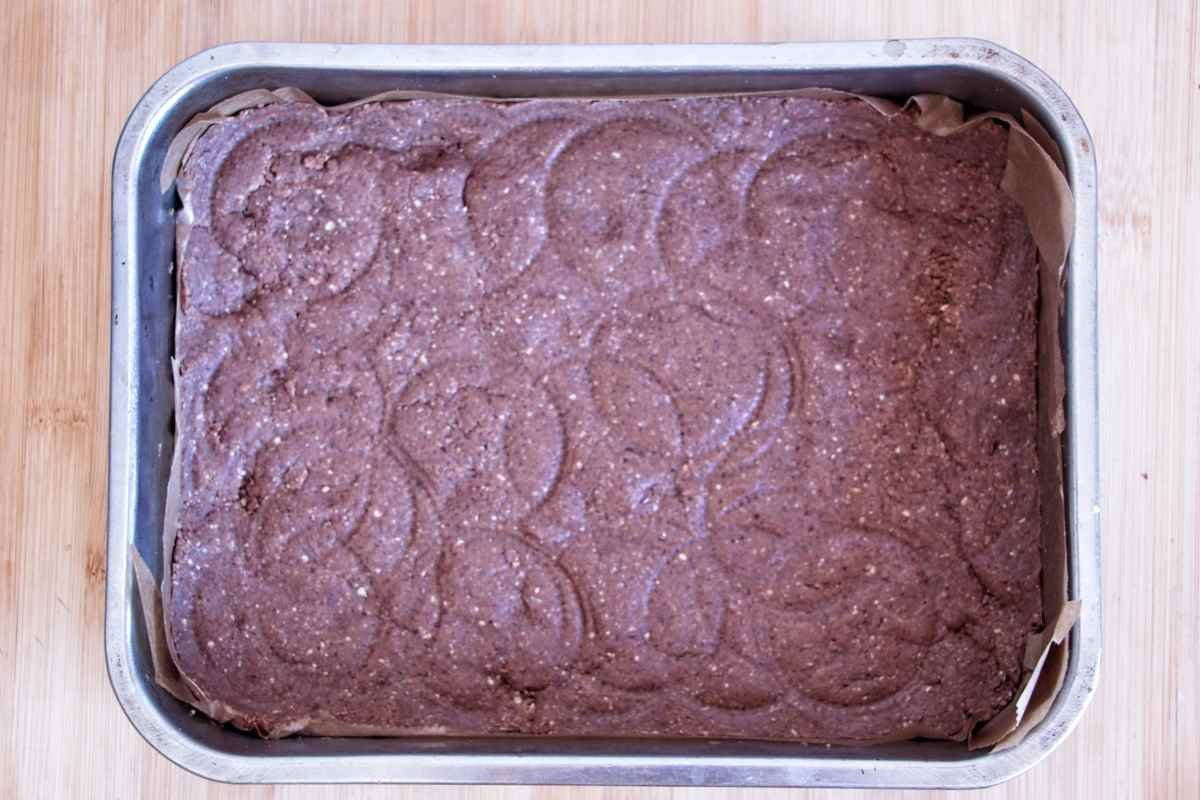
Transfer the mixture and press it down firmly and evenly. I like to use the base of a glass to really compact it and smooth the surface — this helps the bars hold together properly when sliced.
Add the topping
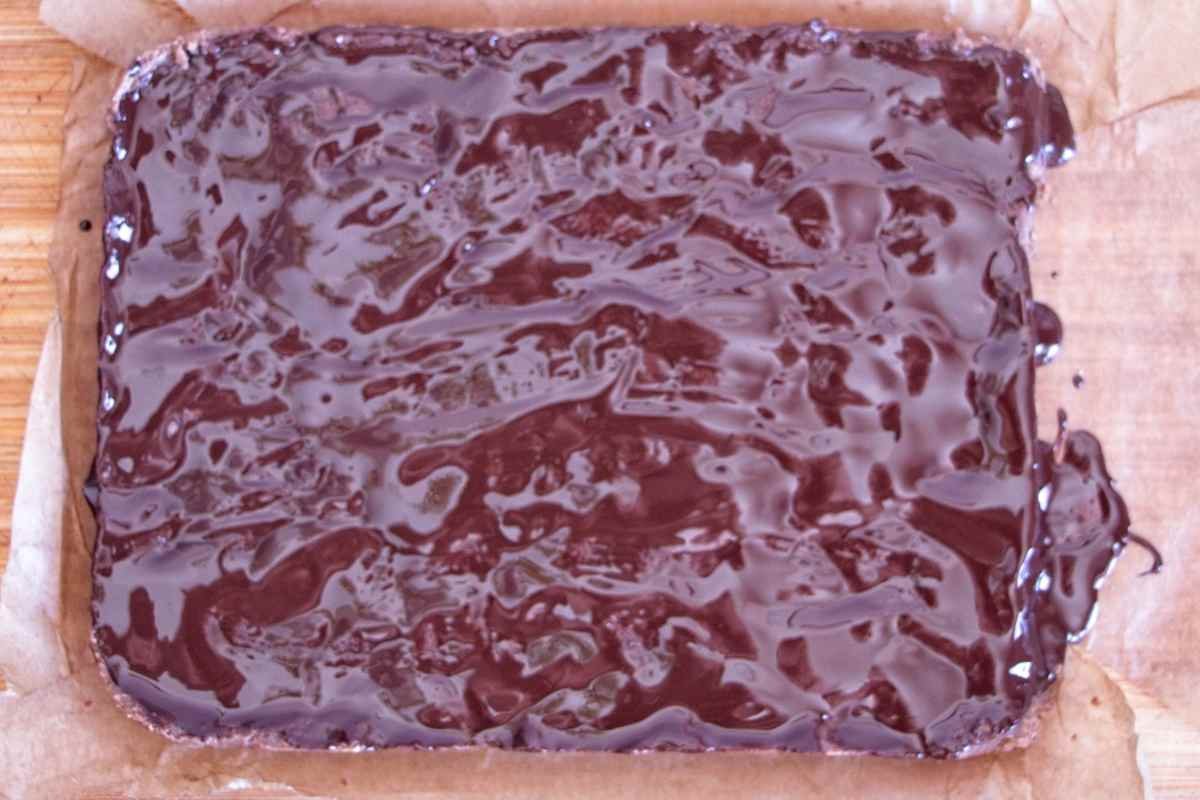
Melt the chocolate with a little coconut oil until smooth, then spread it evenly over the top. Finish with a pinch of flaky sea salt if you want to make it a little bit posher.
Chill and slice
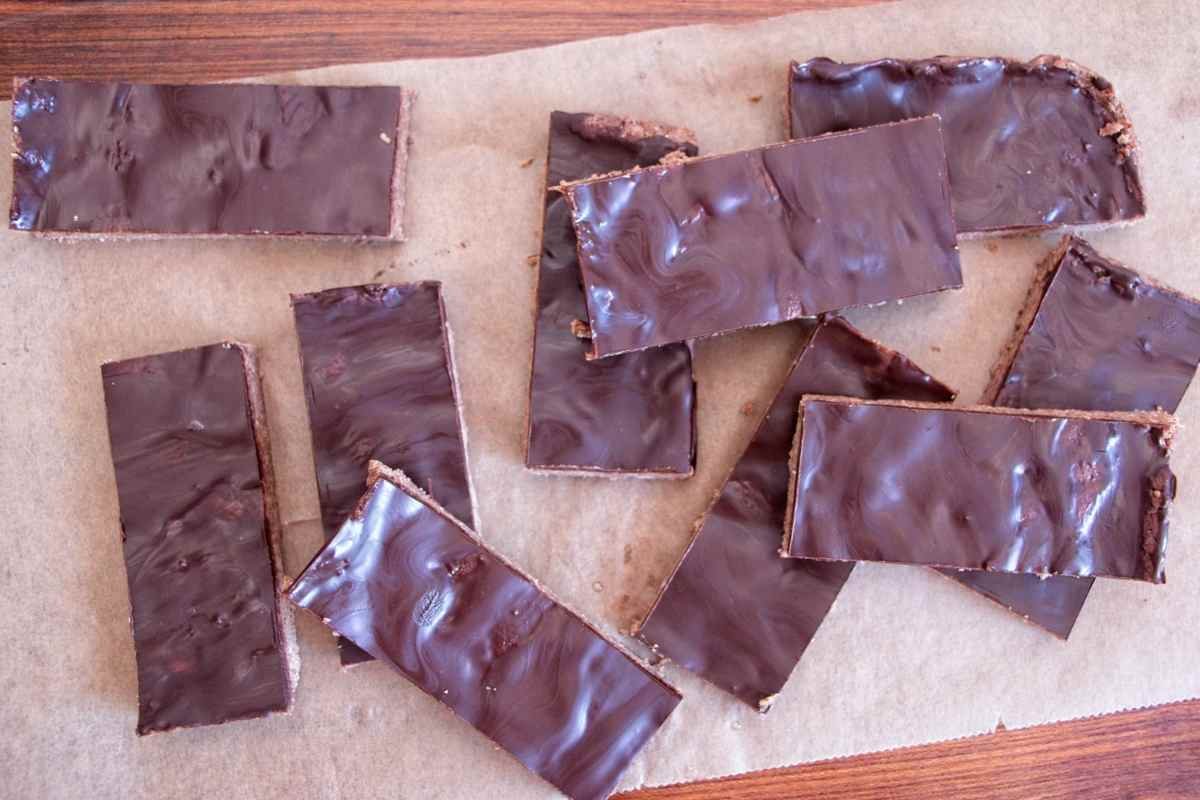
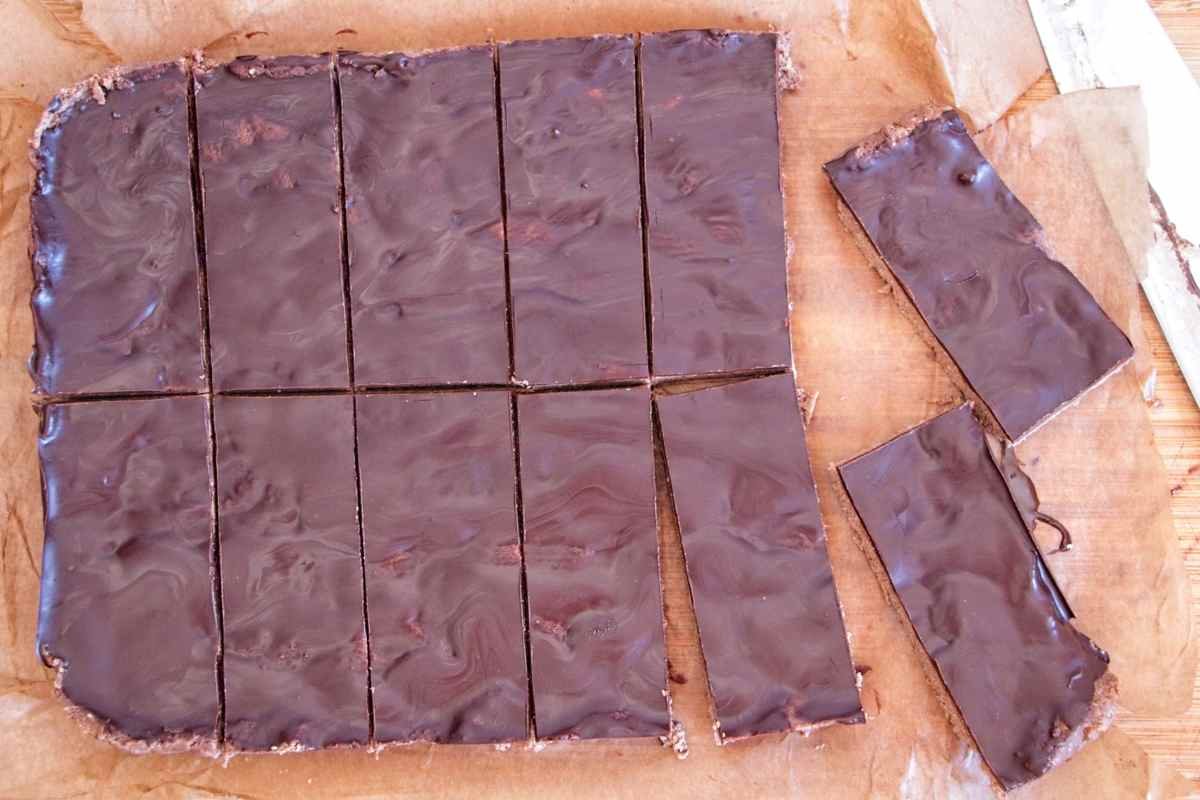
Refrigerate for 45–60 minutes, or until firm. Once set, lift out using the baking paper and cut into bars or squares.
Key Tips for Perfect Homemade Protein Bars
- Get the texture right before pressing: The mixture should feel like soft cookie dough — firm, slightly tacky, and easy to press together. If it’s crumbly, it’s too dry.
- Press it down firmly: This is critical. The more you compact the mixture, the better the bars will hold together. Use the base of a glass to really pack it in evenly.
- Adjust liquid slowly: Add milk a little at a time if needed. It’s much easier to fix a slightly dry mixture than one that’s too wet.
- Let the mixture rest: Give it 2–3 minutes before pressing. The oat flour, flaxseed, and protein powder will absorb moisture and firm up naturally.
- Chill fully before slicing: Don’t rush this step. The bars need time to set properly, especially with coconut oil and chocolate in the mix. An hour minimum, but a few hours is better. Overnight they will really solidify and set.
Storage
- Fridge: Store in an airtight container in the fridge for up to 1 week. This keeps them firm and easy to slice.
- Freezer: Freeze for up to 3 months. You can wrap them individually for easy grab-and-go snacks.
- To eat: Best eaten slightly chilled. If frozen, let them sit at room temperature for a few minutes before eating for the best texture.
Substitutions & Variations
These bars are easy to adjust depending on your preferences or what you have on hand.
- Make them vegan: Use maple syrup instead of honey and stick with a plant-based protein powder like soy or pea.
- Protein powder options: Soy protein works well here for structure and a firm texture.
Whey protein is not recommended, as it tends to make the mixture too soft or sticky and prevents the bars from setting properly. If you prefer an animal-based option, casein is a better choice as it binds more effectively and gives a firmer result. - Nut-free option: Swap peanut butter for sunflower seed butter or tahini.
- Sweetener swaps: Maple syrup and honey are interchangeable. Other liquid sweeteners can work, but may slightly affect texture.
- Flour alternatives: You can replace part of the oat flour with almond flour for a slightly softer texture.
- Add-ins: Mix in chopped nuts, cacao nibs, or dark chocolate chips for extra texture.
Check Out Some Other Protein Bar Recipes
- High-Protein Snickers Freezer Bites
- No-Bake High Protein Millionaire’s Shortbread
- Fudgy Protein Brownies
- High Protein Flapjacks
No-Bake Chocolate Peanut Butter Protein Bars
Ingredients
Base
- 145 g oat flour
- 50 g soy protein powder chocolate is best
- 2 tbsp cocoa powder 10g
- 20 g ground flaxseed
- 1 pinch salt
Wet
- 120 g natural peanut butter
- 100 ml maple syrup or honey
- 15 g coconut oil melted
- 1 tsp vanilla extract
- milk 1–3 tbsp, as needed
Topping
- 30 g dark chocolate
- 1 tsp coconut oil
- Flaky sea salt optional
Instructions
- Combine the peanut butter, maple syrup, and coconut oil in a bowl and gently heat until smooth. Stir in the vanilla extract.
- Add the oat flour, soy protein powder, cocoa powder, ground flaxseed, and salt. Mix until a thick dough forms, using your hands if needed to bring it together.
- Let the mixture rest for 2–3 minutes to allow the dry ingredients to absorb moisture and firm up.
- Transfer to a lined 20 × 20 cm tin and press down firmly and evenly, using the base of a glass to compact the mixture.
- Melt the dark chocolate with coconut oil until smooth, then spread over the surface. Sprinkle with flaky sea salt if using.
- Refrigerate for 45–60 minutes, or until fully set. Remove from the tin and slice into 12 bars.
Notes
No-Bake Chocolate Peanut Butter Protein Bar FAQs
This usually means the mixture is too dry. Add a small amount of liquid, such as milk or a little extra peanut butter, and mix again until it holds together when pressed.
This is usually down to too much liquid, not pressing the mixture firmly enough, or not chilling long enough. The mixture should feel compact and firm before it goes into the fridge.
Yes, but results will vary. Plant-based proteins like soy or pea work best for structure. Whey protein tends to make the mixture too soft or sticky. If you prefer an animal-based option, casein is a better choice.
Yes. Simply use maple syrup instead of honey and a plant-based protein powder.
Yes, they freeze well for up to 3 months. Let them sit at room temperature for a few minutes before eating for the best texture.


One Comment