Crispy Breaded Parasol Mushrooms
Crispy breaded parasol mushrooms, a classic schnitzel-style dish made from wild foraged fungi. Easy, golden, and perfect for vegetarians.
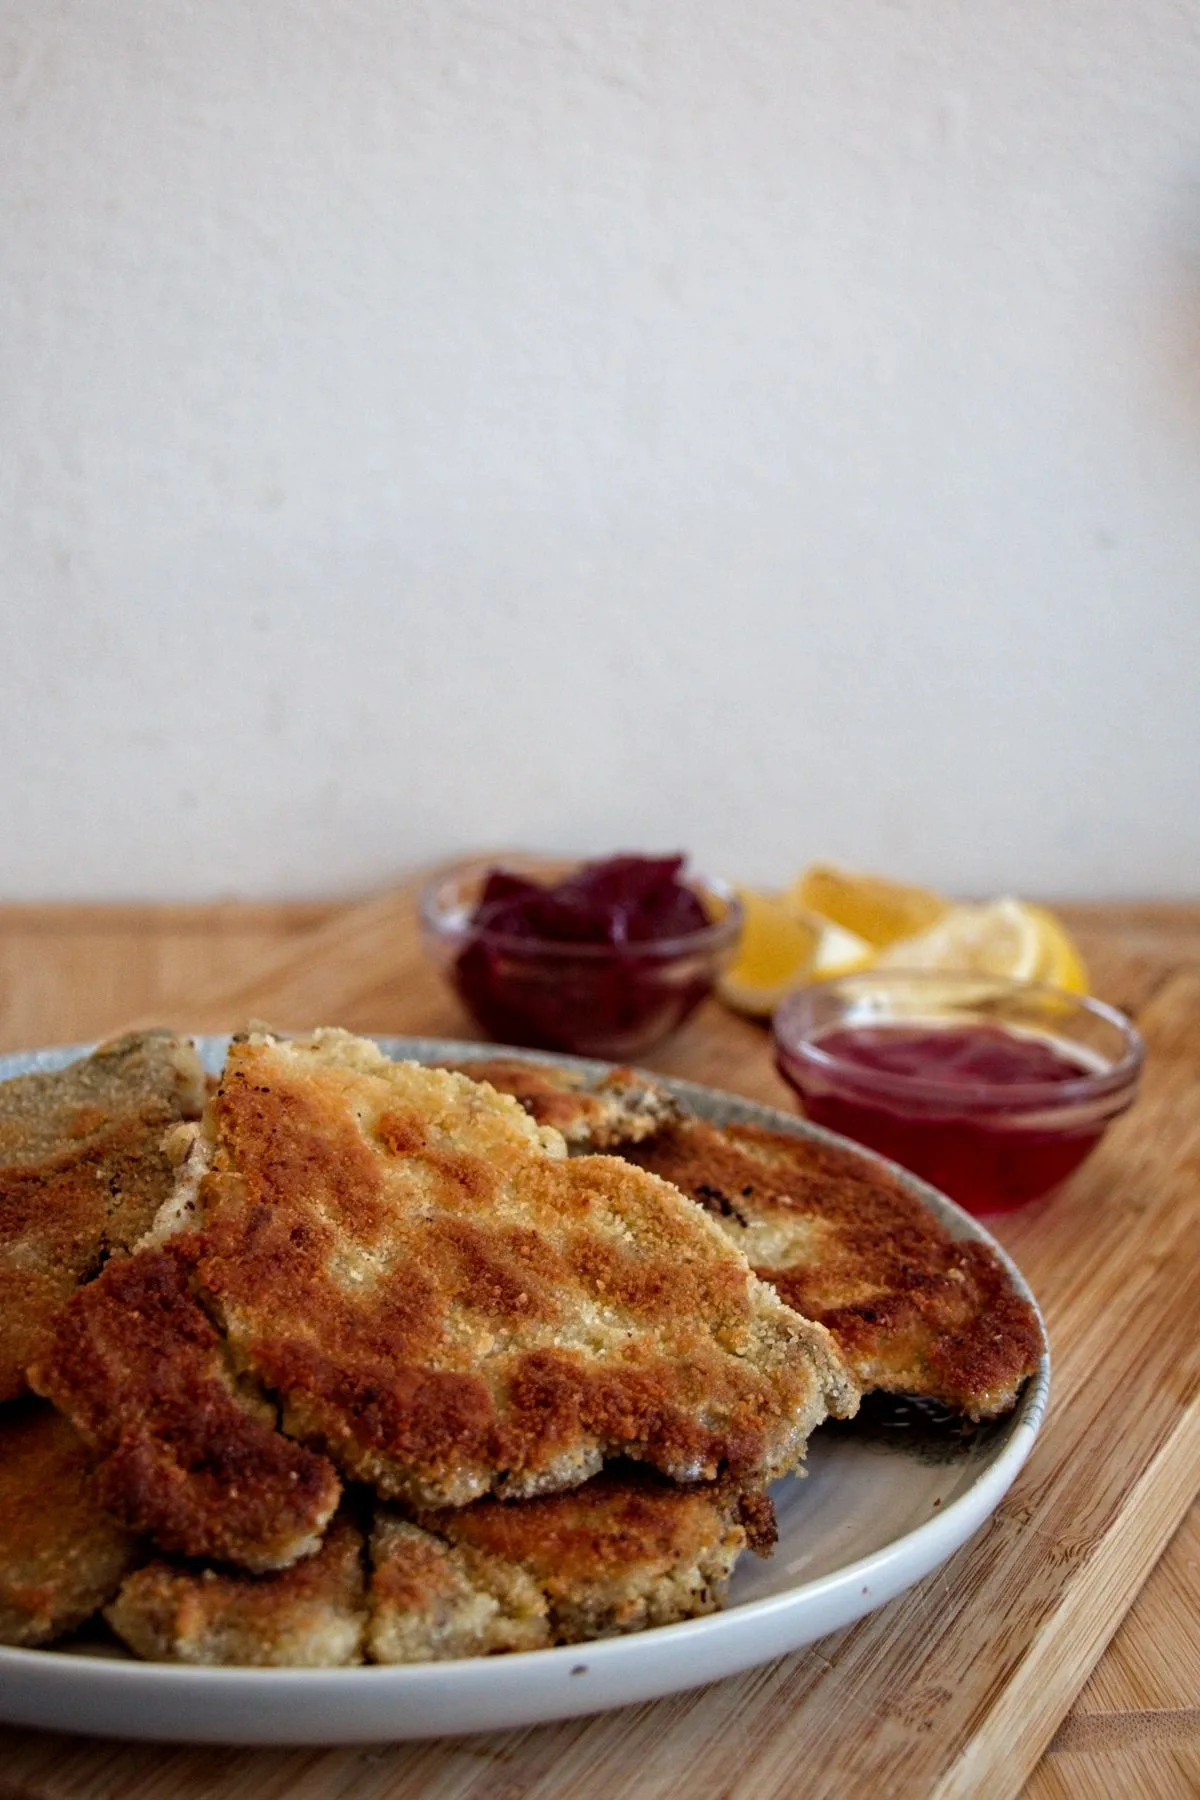
Golden, crisp, and full of earthy flavour, Breaded Parasol Mushrooms is a traditional and easy way to enjoy wild parasol mushrooms at their best. With just a handful of simple ingredients—flour, egg, and breadcrumbs—you can transform foraged mushrooms into irresistible Wiener Schnitzel-style cutlets.
Parasols were the first gilled mushroom I learned to identify, and to this day I have never experienced a better way to eat them. Their huge, umbrella-like caps are the perfect shape for breading and frying. Being a vegetarian who used to love Wiener Schnitzel, this recipe is always the first thing on the menu after we stumble upon a crop in the forest.
How to Identify Parasol Mushrooms
Generally speaking, gilled mushrooms are best avoided by new foragers, as many of the world’s deadliest fungi—such as Death Caps and Destroying Angels—belong to this group. That being said, if you want to step up your mushroom foraging game and start looking at gilled species, parasols are one of the easiest and safest to begin with.
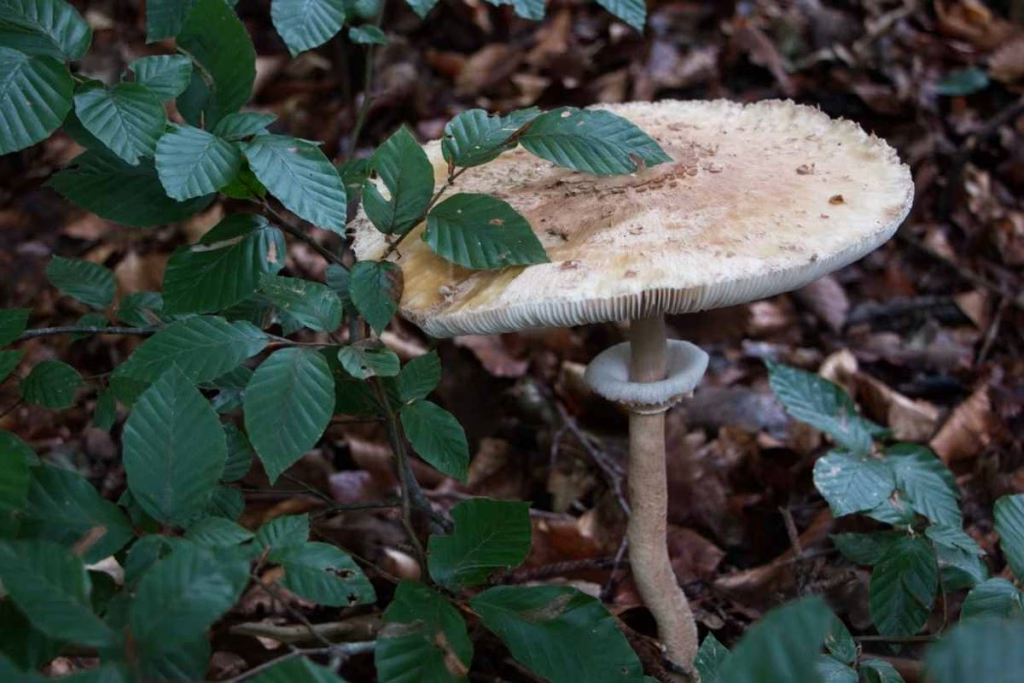
True parasol mushrooms (Macrolepiota procera) are a striking, tall fungi with umbrella-like caps that can reach over 30 cm tall and up to 25–30 cm across. Most often appearing from late summer through to early winter, they can be found in abundance across many habitats. You’ll spot them in meadows, along grassy paths, and throughout both deciduous and evergreen forests. Easy to recognise from a distance, parasols are usually found in troops with several individuals close together.
The caps start off rounded like a drumstick before opening wide and flattening out. Mature caps show a pale, creamy background covered with a distinctive pattern of brown scales radiating from a darker central bump (the umbo). This scaly, patterned surface is one of the classic features of a true parasol.
A few edible relatives look similar, but true parasols stand out thanks to the distinctive ring on the stem, which is loose and slides freely up and down.
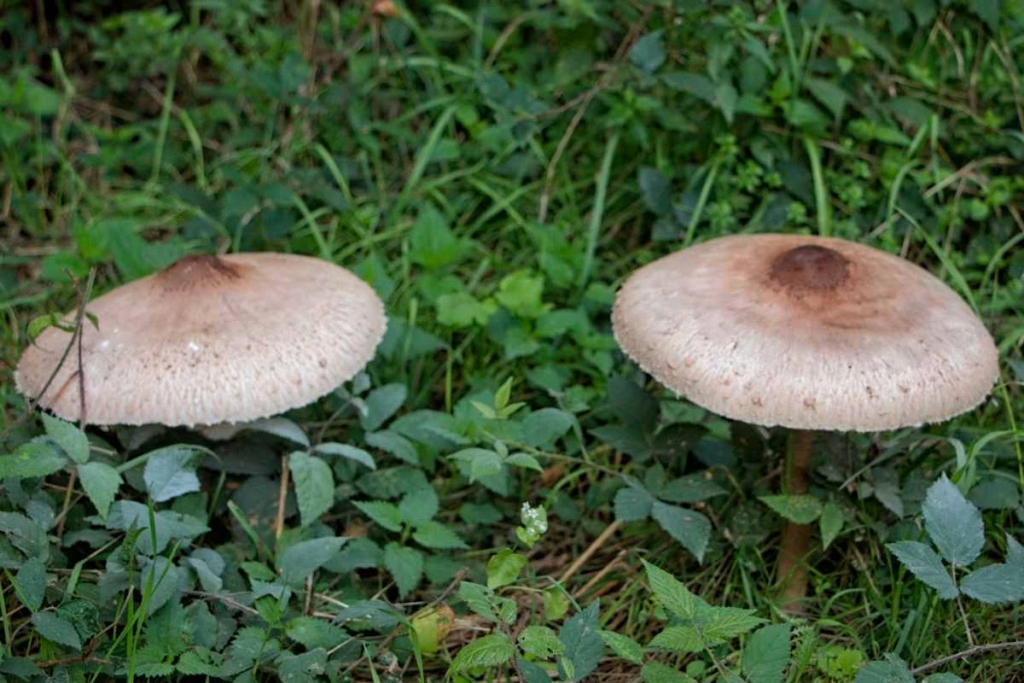
But a true parasol mushroom has one feature that no lookalike shares. Below the detachable ring, the long stem is mottled with a snakeskin-like pattern that develops as the mushroom grows. This, along with the free-moving ring, is what makes parasol mushrooms stand apart from their lookalikes.
Here is an excellent guide on identifying parasol mushrooms.
A Note of Caution: The “Vomiter”
Foragers should be aware of the Green-Spored Parasol (Chlorophyllum molybdites), often nicknamed the vomiter.
While very rare in Europe, it is common in North America, especially in lawns, parks, and grassy areas. This mushroom looks deceptively like a true parasol but causes severe gastrointestinal distress, with symptoms such as intense vomiting and diarrhoea.
There are two reliable ways to tell them apart. The first is the gills and spore print. True parasols produce a white spore print (often dusting any surface they touch). Chlorophyllum molybdites has a distinct green spore print. Even easier, though, is to look at the stem. The Vomiter lacks the snakeskin-like markings that are so characteristic of true parasols. This is why I consider the patterned stem to be the most distinctive identifying feature of parasol mushrooms.
Always remember: if you are ever unsure about the identification of a wild mushroom, do not eat it until you are 100% certain it’s the correct one.
Ingredients Breakdown
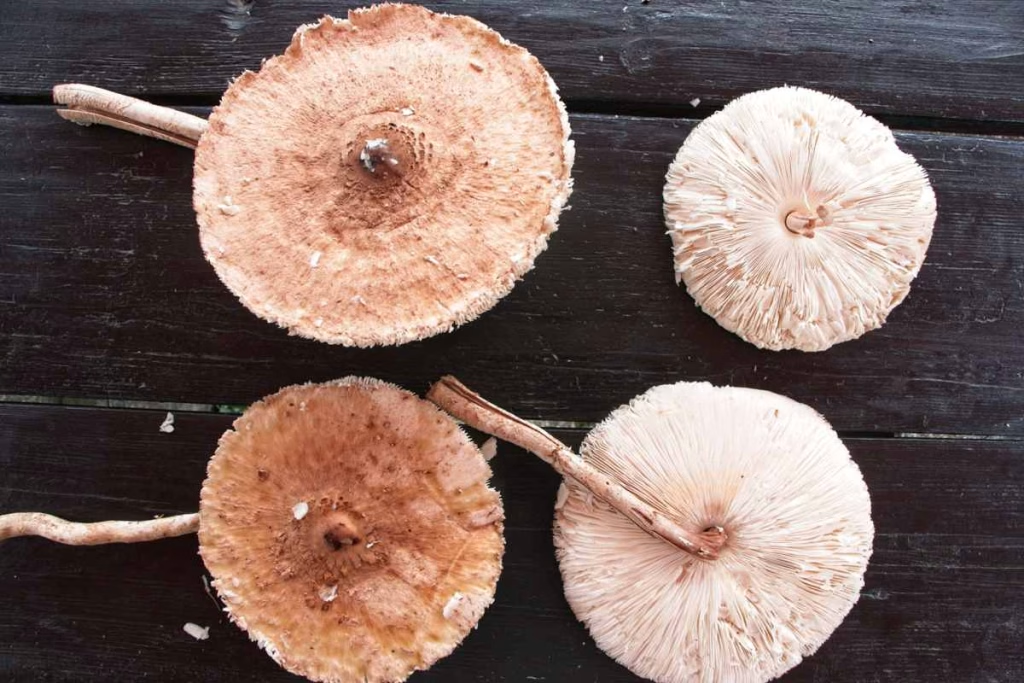
The beauty of pannéd parasol lies in its simplicity. All you really need are fresh parasol mushroom caps, a little flour, an egg, and some breadcrumbs. The flour helps the egg cling, the egg binds the coating, and the breadcrumbs give that irresistible golden crunch.
Step-by-Step Instructions
- Clean the mushrooms
Gently brush off any dirt with a soft brush or cloth. Avoid washing parasols in water as they soak it up and become soggy. - Prep the caps
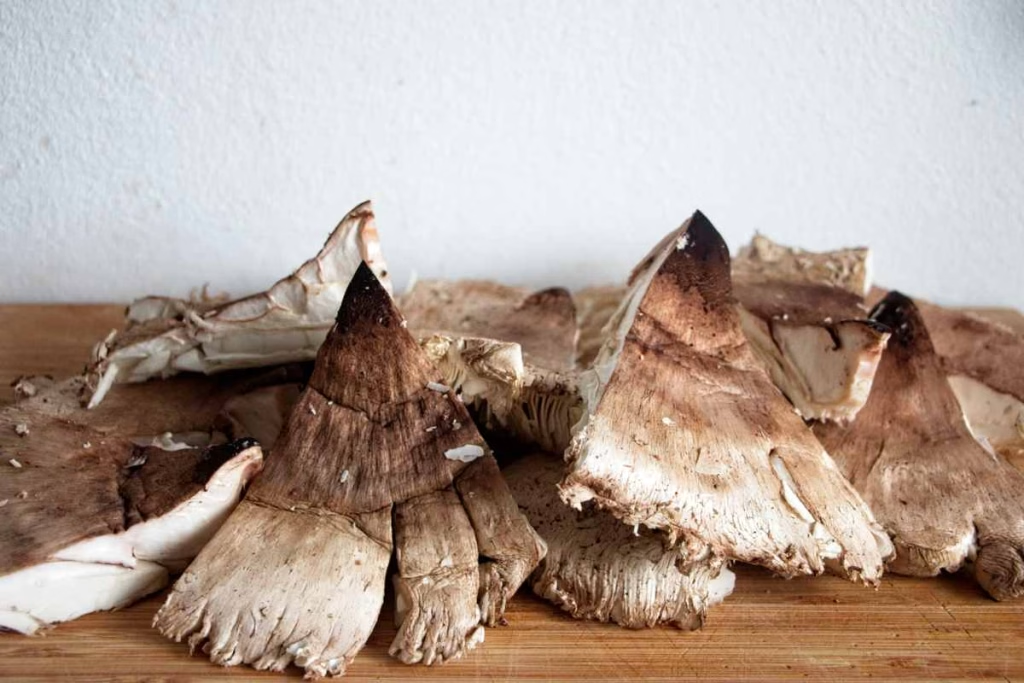
If your mushrooms are very large, cut them into whatever size is most convenient for your breading process. Larger caps are harder to handle and easiyl fall apart during breading. I personally cut mine into hand size pieces.
We will only be using the caps for this method of cooking. You can eat the stems, but they’re very fibrous, so it’s better to use them for other things. You can also dry the stems and use them for stock. Or grind the dried stem to a powder and use it as a mushroom seasoning.
- Set up your breading station
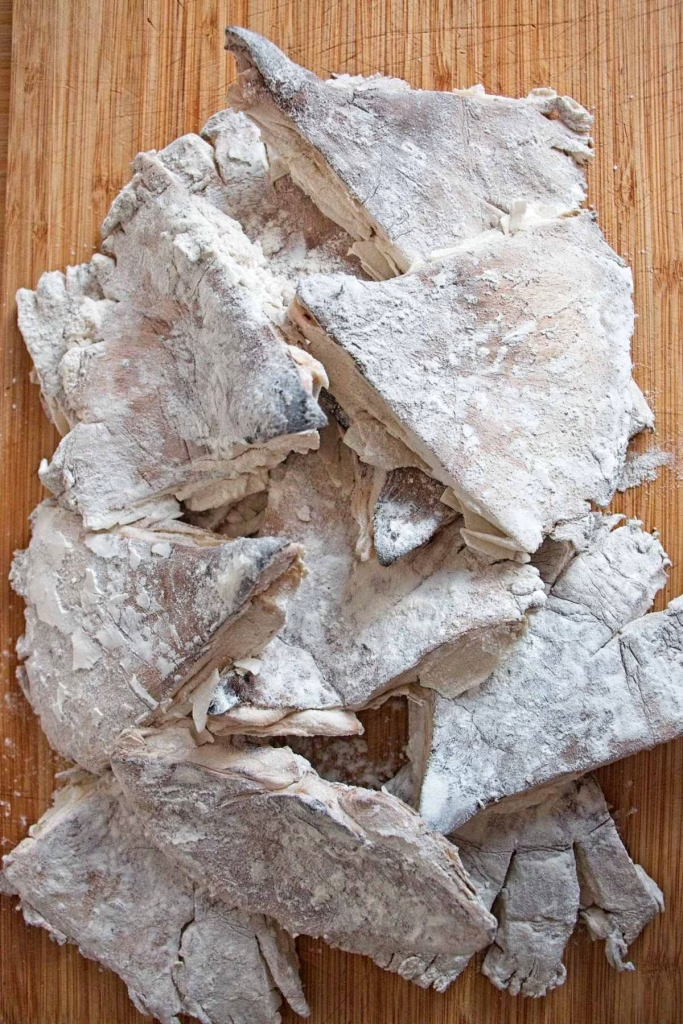
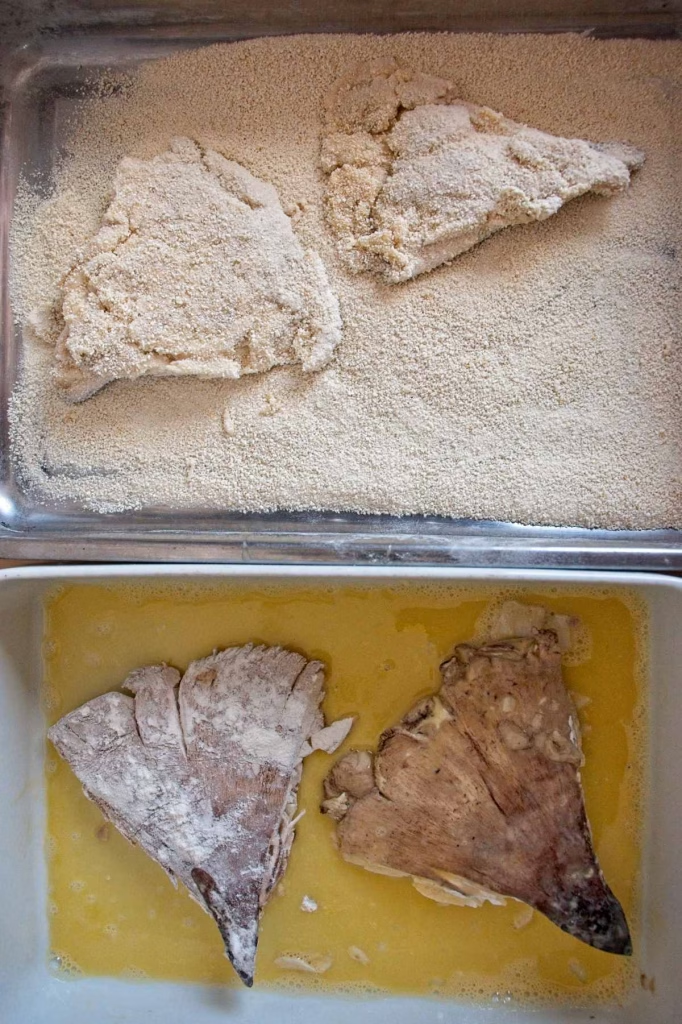
Place flour on one plate, beaten eggs in a shallow bowl, and breadcrumbs on another plate. Season the flour with salt and pepper for even flavour. - Coat the mushrooms
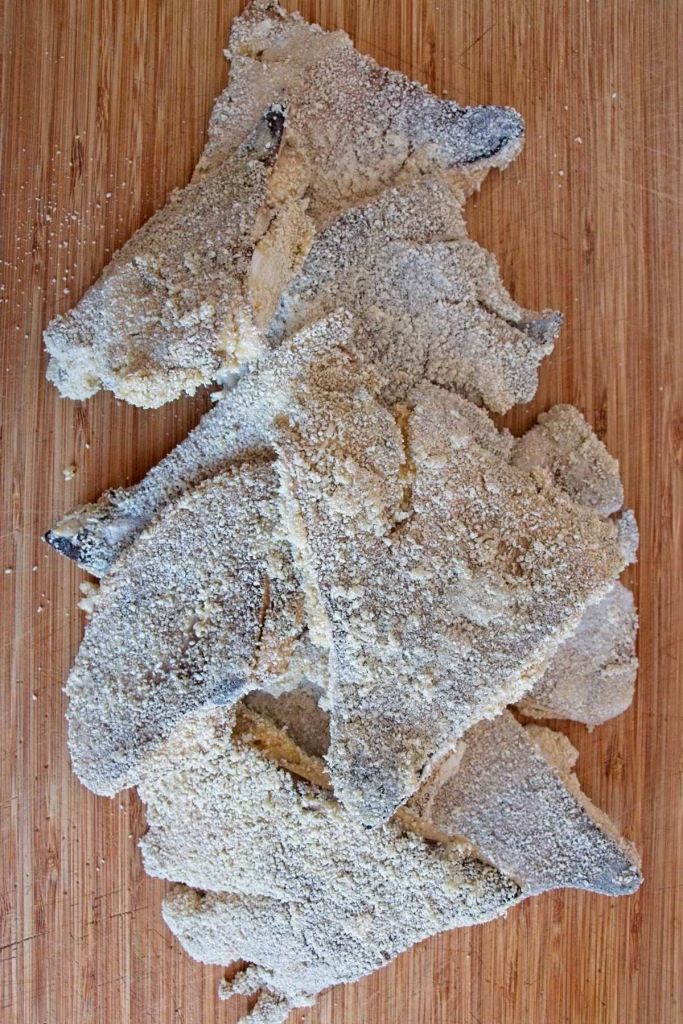
Working one cap (or piece) at a time, press the mushroom firmly into the flour, then dip it into the egg, and finally press it again into the breadcrumbs until evenly coated. Applying a little pressure helps push the gills down and ensures the entire surface gets a proper, even coating that holds together during frying.
- Heat the oil
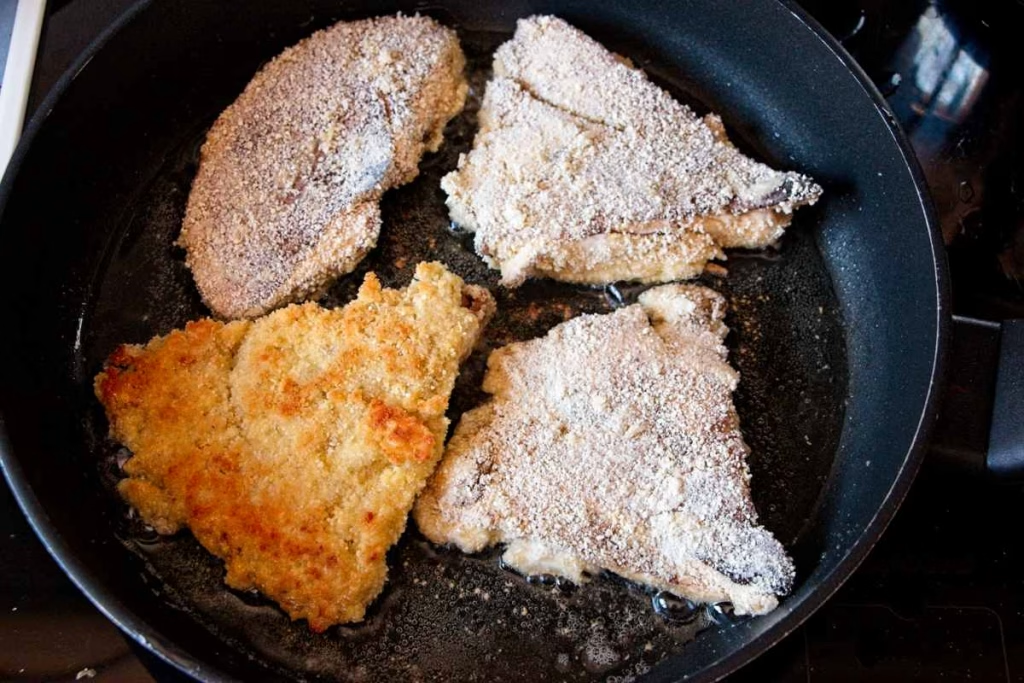
Pour enough neutral oil into a wide frying pan to cover the base about 0.5 cm deep. Heat over medium until a breadcrumb dropped in sizzles immediately. - Fry until golden
Add the coated mushrooms and fry for 2–3 minutes per side, turning carefully, until crisp and golden brown. Don’t overcrowd the pan — cook in batches if needed, adding more oil between batches if necessary.
- Drain & serve
Transfer to a plate lined with kitchen paper to drain excess oil. Serve with lemon wedges, a spoonful of redcurrant jelly (or another tart fruit preserve), and a fresh side salad.
Crispy Breaded Parasol Mushrooms
Ingredients
- 4 large parasol mushroom caps only, about 500g
- 60 g plain flour ½ cup
- 2 whole eggs beaten
- 120 g breadcrumbs or panko
- 1 tsp fine salt
- ½ tsp freshly ground black pepper
- Neutral oil sunflower/rapeseed
Instructions
- Gently brush off any dirt with a soft brush/cloth. Do not wash— parasols absorb water very easily and they will become soggy.
- Cut the caps into what ever size is easily manageable— both for breading and frying purposes.
- Put flour on one plate or tray (season with a pinch of salt and pepper), beaten eggs on another, and breadcrumbs on another.
- Working one cap/piece at a time, press into the flour, dip in egg, then press firmly into the breadcrumbs until evenly coated. Pressing helps push the gills down so the coating adheres.
- Add enough oil to a wide pan to about 0.5 cm depth. Heat over medium until a breadcrumb sizzles on contact.
- Cook 2–3 minutes per side until golden and crisp. Avoid overcrowding; fry in batches if needed. Add oil to the pan between batches if needed.
- Drain briefly on kitchen paper to absorb excess oil. Serve with lemon wedges, a spoonful of redcurrant jelly, and a fresh side salad.
Notes
- Vegan or Dairy-Free: Replace the egg with a flax egg (1 tbsp ground flax + 3 tbsp water) or aquafaba (the liquid from a can of chickpeas). Use plant milk to thin the coating if needed.
- Gluten-Free: Swap the flour for a gluten-free blend and use gluten-free breadcrumbs or crushed cornflakes for a crisp finish.